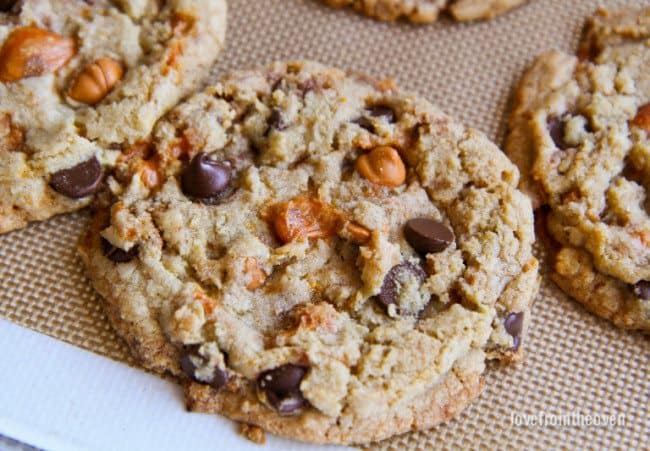
Looking for a fun twist on classic cookies? These Butterfinger Butterscotch Cookies are packed full of flavor!
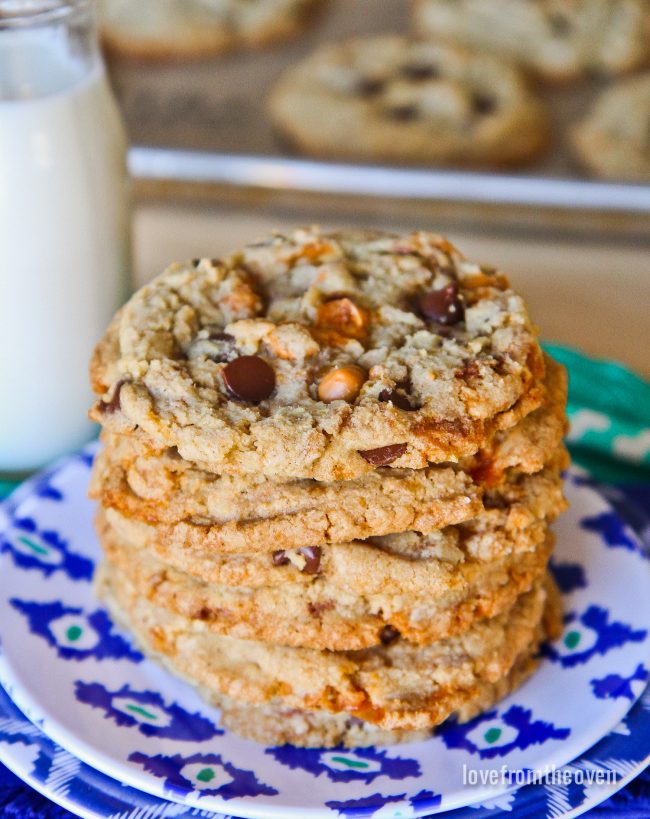
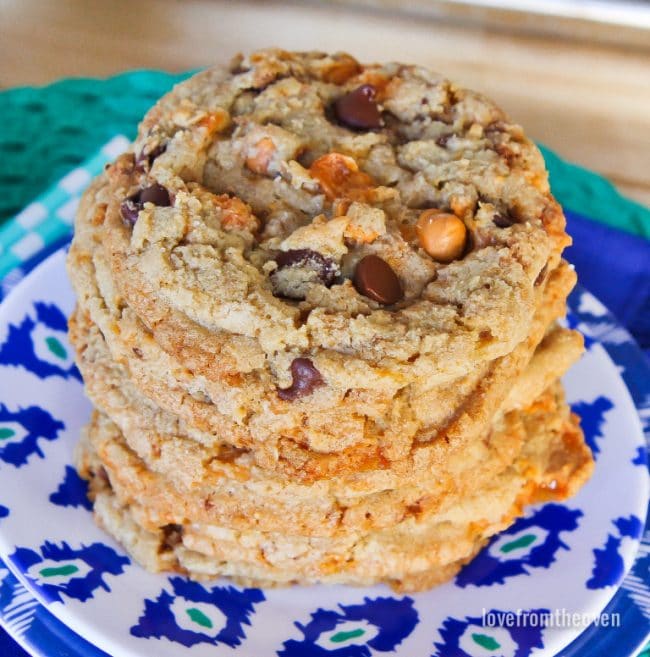
Butterfingers are one of my all-time favorite candy bars. I love the flavor combo and the delicious crunchy center. I recently picked up a bag of Butterfinger Bits and decided that they needed to be added to some cookies, along with both chocolate chips and butterscotch chips. I present Butterfinger butterscotch cookies!
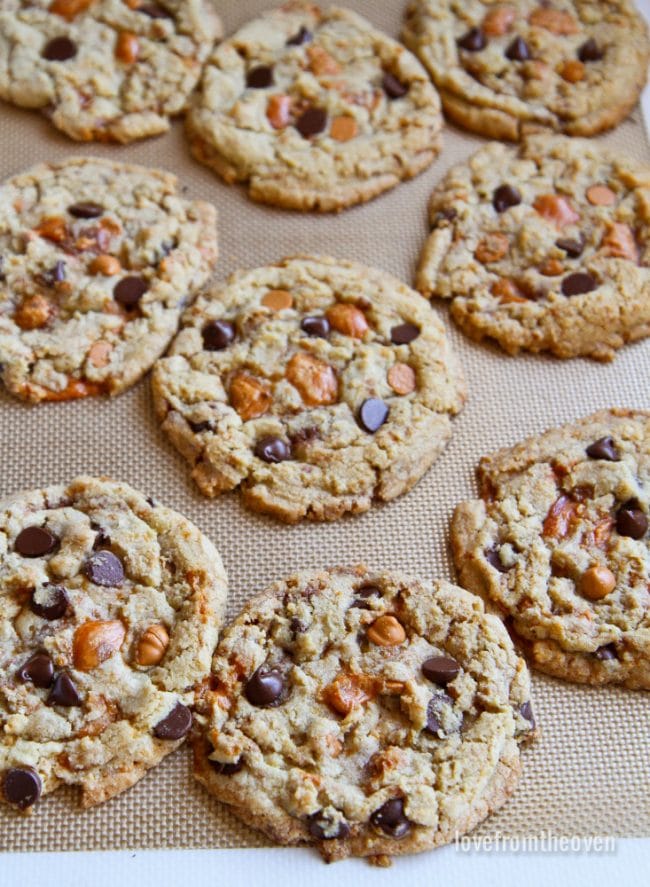
While I often advise baking with a silicone baking mat, when making this recipe it’s more important than ever. The Butterfinger chunks that melt on the bottom of these Butterfinger butterscotch cookies can stick to the baking sheet if you don’t use a silicone baking mat, and that can create a messy situation. I hate having cookies stick to my cookie sheets, so make sure to use the silicone mat. Silpats are probably the most popular, but I have a variety of different brands and find that they all work equally well. No matter which kind you buy, these really are a great investment if you do a lot of baking, especially for cookies. They make clean up so much easier and you don’t have to worry about your cookies, or anything else, sticking to them!
This Butterfinger Butterscotch Cookie recipe is adapted from my Big Buttery Cookies recipe, which is one of my favorites. Two things about that recipe are a bit different than your standard cookie recipe. First you start with COLD butter. Not softened, not room temp, cold. Because of this, mixing the butter can be a bit more of a challenge, and a stand mixer is kind of like your best friend for this task. If you don’t have a stand mixer you can use a hand mixer, but either way you really need a little power behind your mixing.

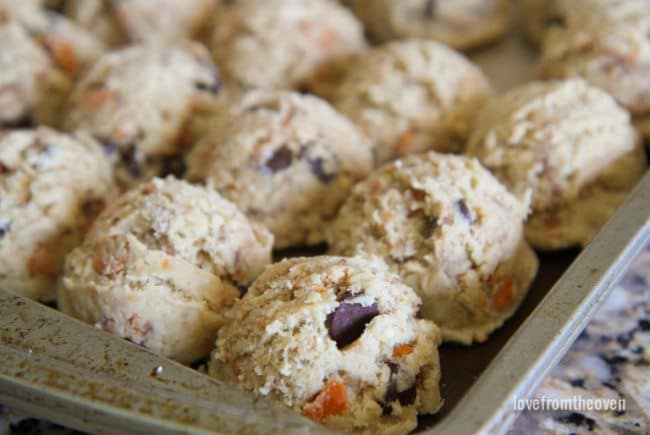
One other thing to take note of is that you do chill the dough in this recipe, but an hour is enough time. I’m not always so organized as to make my dough up the day beforehand, but one hour in the freezer is pretty do-able. I scoop my cookie dough with a large cookie scoop onto my baking sheet, and then put the whole thing into the freezer. If you wanted to, after that hour you could actually bag these up to bake at a later date, but if I’m making cookies, I want to be eating cookies, so into the oven mine go!
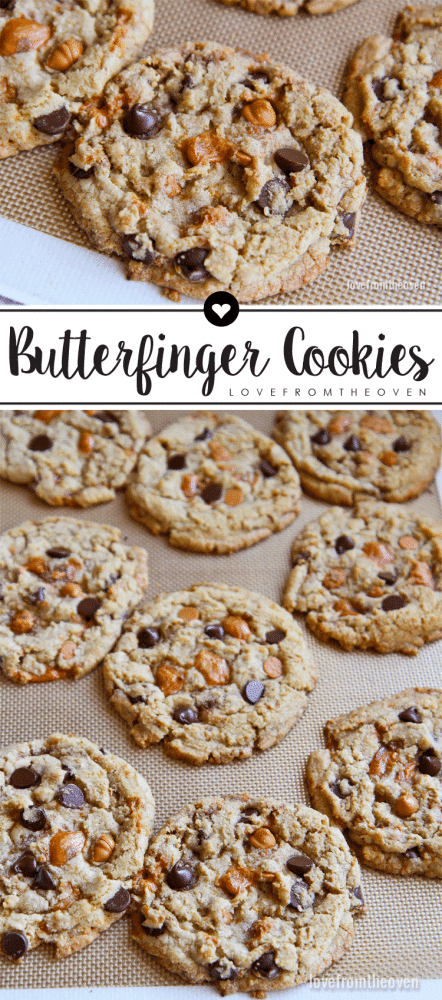
BUTTERFINGER BUTTERSCOTCH COOKIES
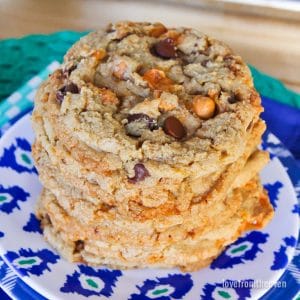
Butterfinger Butterscotch Cookies
Ingredients
- 1 1/2 cups all-purpose flour
- 1 cups bread flour ((you can use all-purpose in place if you need to))
- 2/3 cup quick cook / instant oats
- 1 tsp baking powder
- 1/2 tsp baking soda
- 1 tsp salt
- 1 cup butter (, cold)
- 3/4 cup brown sugar
- 3/4 cup granulated sugar
- 2 eggs
- 2 tsp vanilla extract
- 1 cup semi-sweet (, milk or dark chocolate chips)
- 1 cup butterscotch chips ((you could also use peanut butter chips))
- 1 to 1 1/2 cups Butterfinger Bits
Instructions
- In the bowl of an electric mixer, beat cold butter for until light and creamy. Add in brown sugar and regular sugar and beat until light and fluffy. Add in eggs, one at a time, beating until incorporated. Add in vanilla and mix well.
- In a separate bowl, combine flours, oats, baking powder, baking soda and salt. Stir to combine. Slowly add the dry ingredients to the wet ingredients and stir until just combined. Fold in chocolate chips, butterscotch chips and Butterfinger Bits. Do not over-mix!
- Using a large cookie scoop or ice cream scoop, scoop large portions of cookie dough onto a cookie sheet lined with a silicone baking sheet. Cookies can be close to each other, as this sheet is going right into your freezer and not your oven.
- Freeze cookie dough on your baking sheet for one hour.
- Preheat oven to 375 degrees F. Once oven has reached temperature, remove six of your cookie dough balls from the freezer and place them on another baking sheet, lined with a silicone baking sheet or parchment paper. Bake for approximately 15-18 minutes or until starting to turn golden brown around the edges.
- Remove from oven and place baking sheet onto a wire rack to cool. Allow cookies to cool completely on rack before removing from sheet. Repeat with remaining balls of cookie dough. Store in an airtight container.
Notes
The nutrition facts provided are calculated using a third-party tool and are estimates only. Actual nutritional content may vary based on the ingredients and brands you use, as well as portion sizes. For accurate results, please consult a registered dietitian or nutritionist.
Want To Save This Recipe For Later?

PIN BUTTERFINGER BUTTERSCOTCH COOKIES TO SAVE!
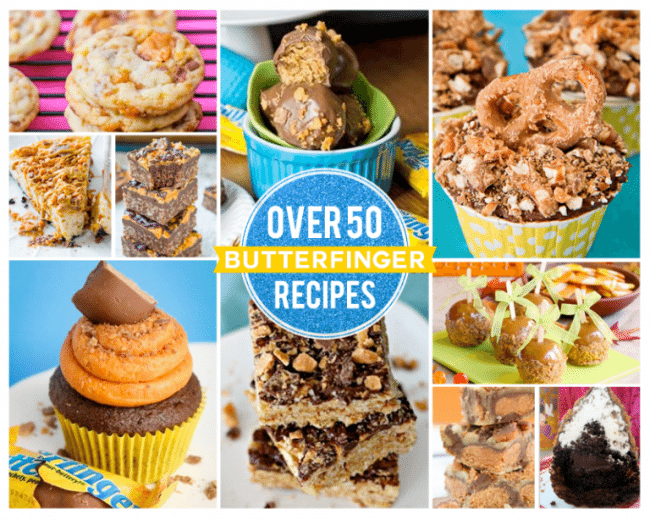
Can’t get enough of Butterfingers? Here are some other posts you will want to check out!
Love From The Oven’s Butterfinger Recipe Round Up
Butterfinger Fudge by Crazy For Crust
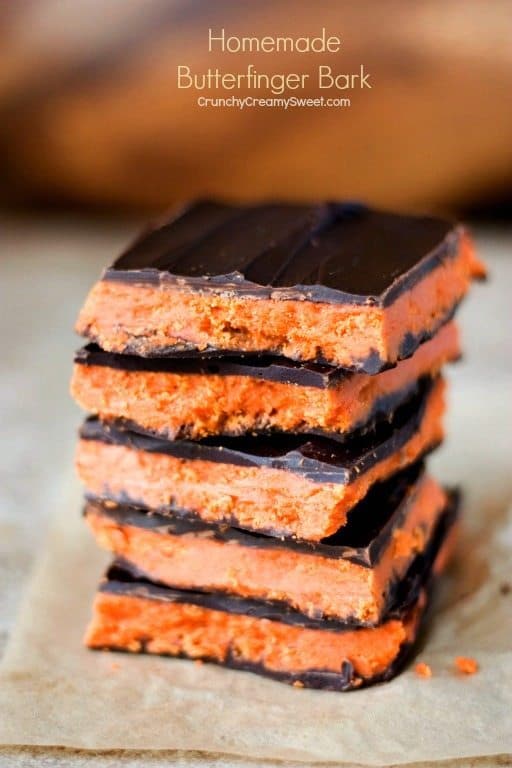
Crunchy Creamy Sweet has some awesome Butterfinger Bark
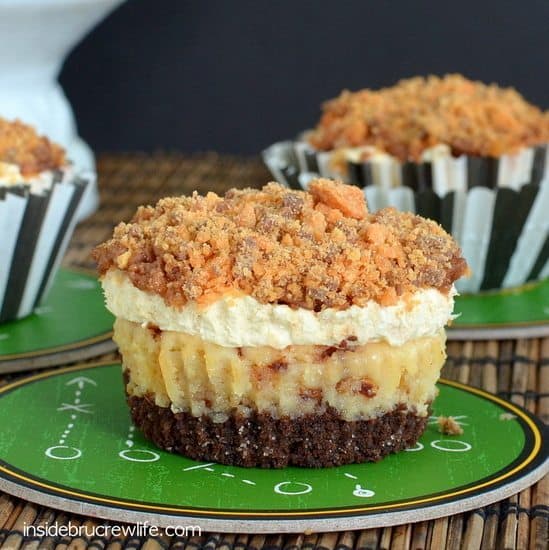
Inside Bru Crew Life has some yummy Butterfinger Mousse Cheesecakes
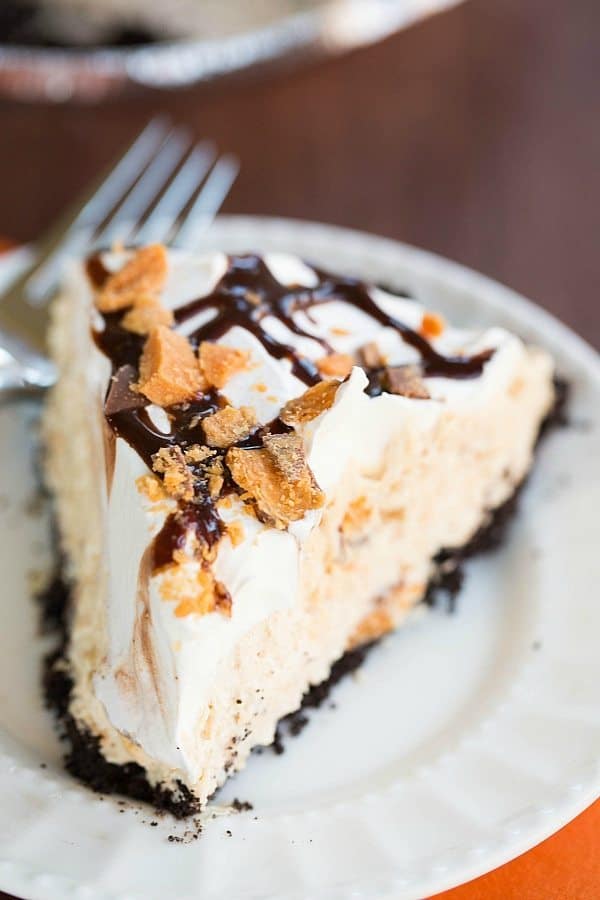
Brown Eyed Baker has an awesome no-bake Butterfinger Pie

Meet Christi, Love From The Oven
I’m Christi I love sharing easy & delicious recipes that your family & friends will love. I’m a mom, baker, cookbook author and lover of sprinkles.


I made these today and followed the recipe exactly, baking at 375 for 15 minutes. Sadly, the cookies came out burnt. I lowered the temp to 350 for the remaining cookies and baked for 10 minutes and they came out like your photo. It’s a great recipe and I’ll make them again with the adjusted temp and bake time. Thanks for sharing your recipes.
I have everything on hand to make these!
These cookies look irresistible! I wish I had one of them right now!