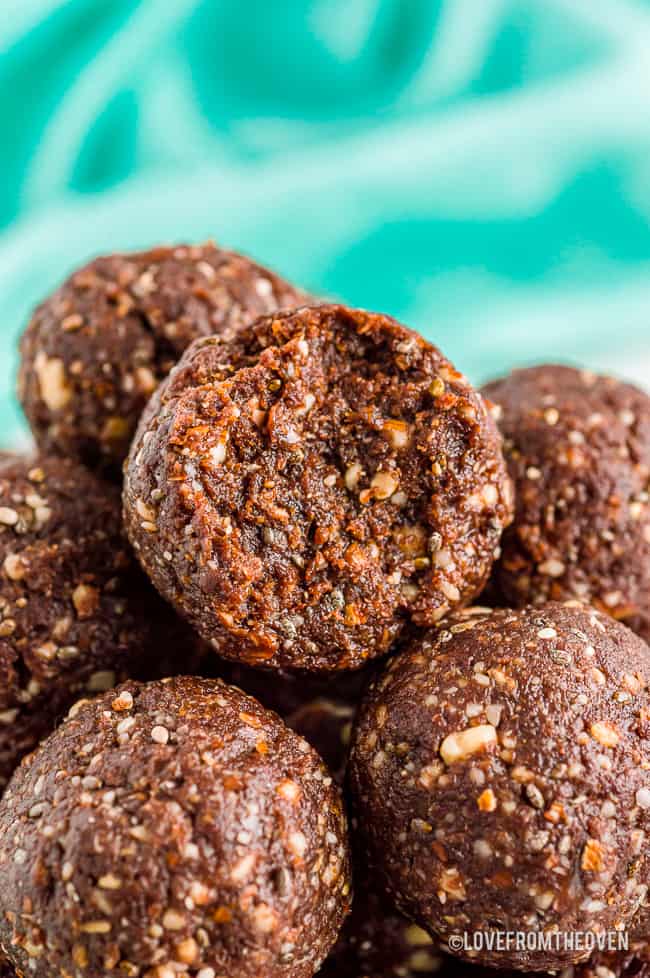
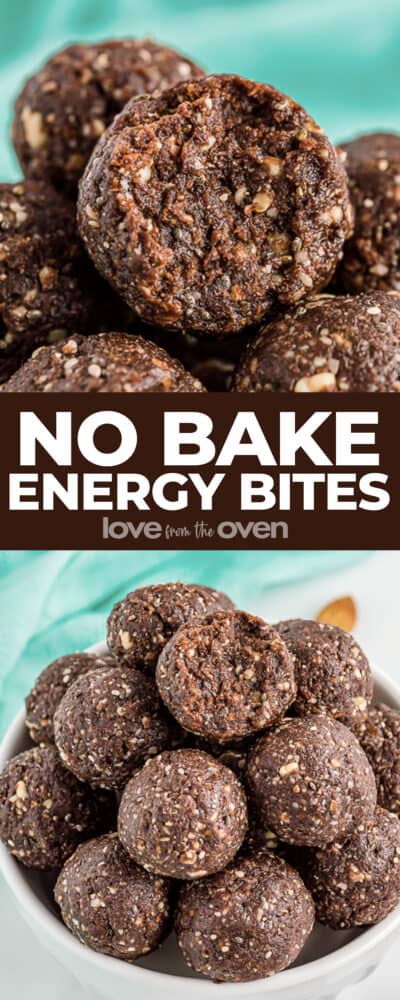
No-bake energy bites are super easy to make and packed full of nutrition. With a nutty chocolatey flavor, they strike the perfect salty sweet balance. This great make ahead recipe is the perfect after school snack on a busy day!
Want To Save This Recipe For Later?
Reasons You’ll Love This Recipe
- Delicious chocolate flavor plus healthy ingredients makes it a snack you’ll happily say yes to when the kids come asking.
- Quick and easy, this recipe does not require any cooking or baking.
- Make them ahead of time. These chocolate energy bites can be frozen in a freezer-safe container for up to three months!
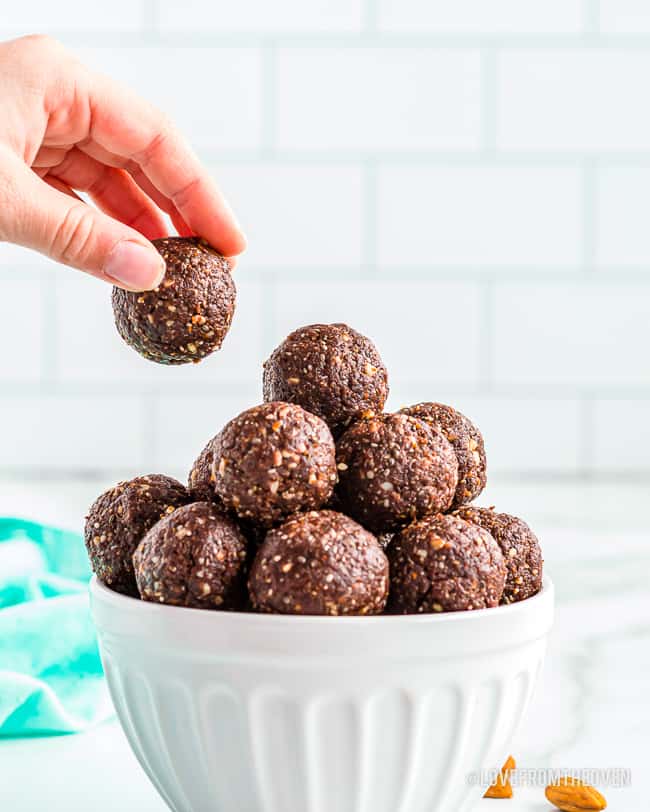
- It’s the perfect on-the-go or afternoon snack, great for that limited time between school and after school activities. You just have to take it out of the refrigerator and it’s ready to go!
No Bake Energy Balls
We’ve all been there – those busy afternoons when we are juggling school, work, activities, sports and who knows what else, the kids are hungry, YOU are hungry. You just want something you can grab quickly that will give you an energy boost, and while that bag of chips is quick and easy, it doesn’t always feel like the best choice.
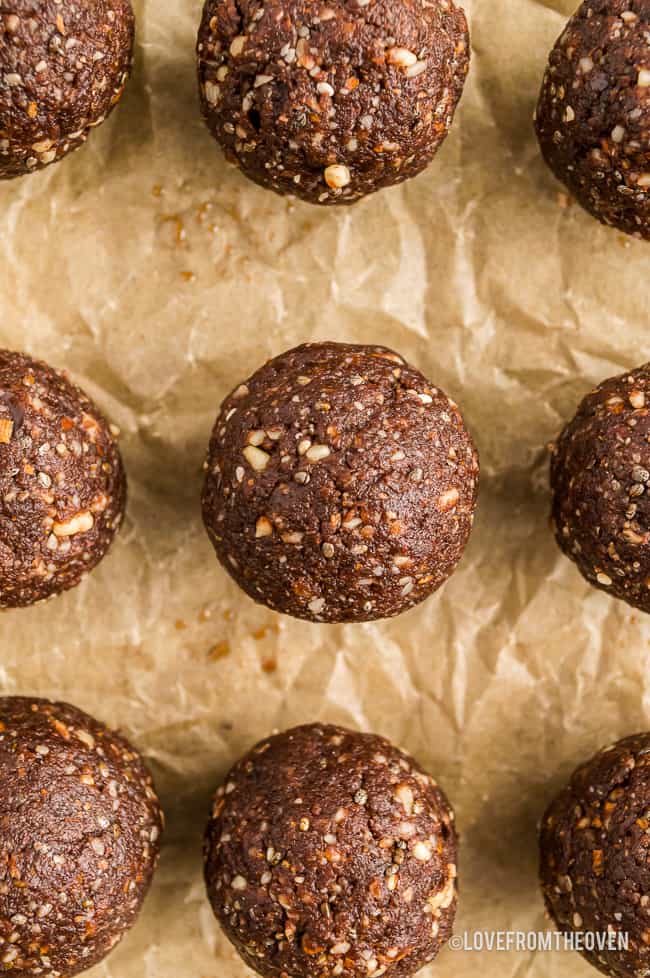
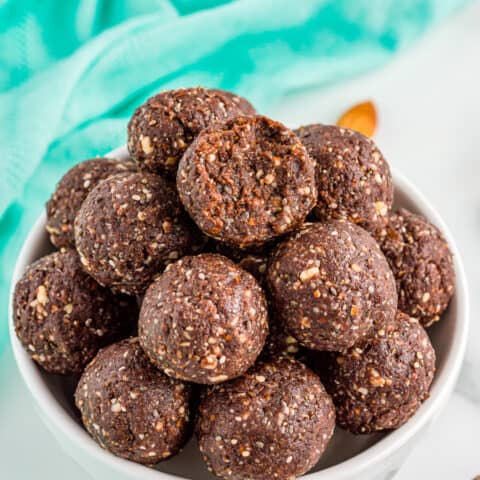
Enter No Bake Energy Bites. These delicious chocolate energy balls are irresistable, yet are made with good for you ingredients. They are easily made ahead of time, then sit ready and waiting in your fridge. A fantastic grab and go snack that everyone, even the picky eaters, will love!
How To Make No Bake Energy Bites
These chocolate energy bites are quick and easy to make. We love to make a batch up on the weekend, then have them ready and waiting for the busy week ahead. Let’s discuss what you will need to gather to whip up a bath, as well as the steps it takes. Reminder that if you just want the printable recipe, scroll to the bottom of this post and you will find it there.
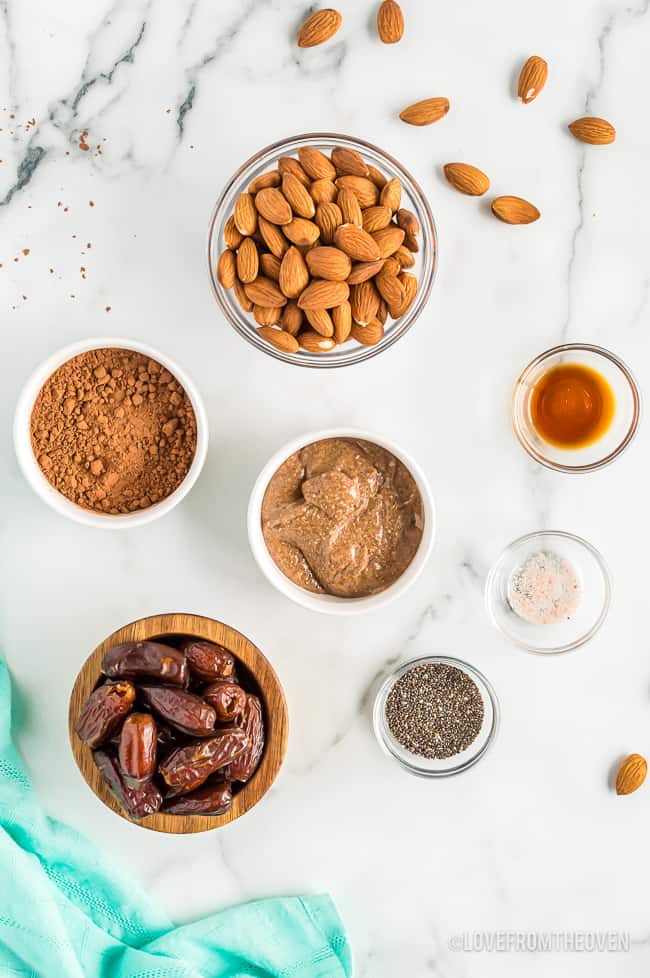
Ingredients
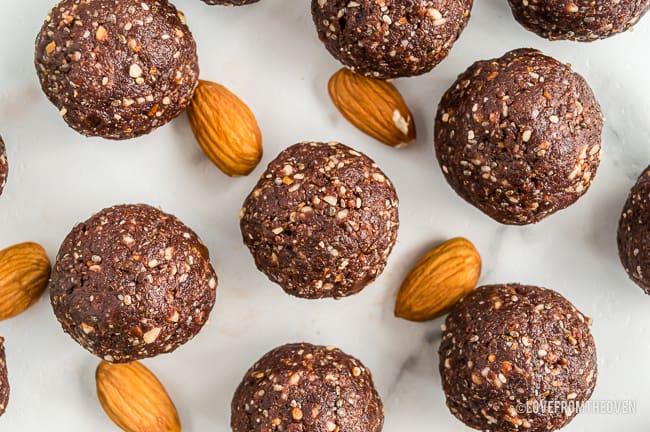
- Almonds – The recipe calls for unsalted almonds, but if you prefer salted, or they are all you have on hand, those will work. Raw or flavored almonds are fine as well.
- Pitted Dates – The pitted dates will give your energy balls a sweet and caramel-like taste. It’s a healthy substitute for white sugar that delivers fiber and antioxidants.
- Almond Butter – While I recommend using almond butter, you can use any variation of nut butter. Just remember that some butters have more oil than others resulting in a runnier or drier dough. If you make your own almond butter, feel free to use that!
- Cocoa Powder – Unsweetened cocoa powder packs in the chocolate flavor! If you are a dark chocolate lover, I highly recommend trying this recipe with Dark Cocoa Powder.
- Chia Seeds – Chia seeds have a nutty flavor that works well with sweet and salty! They are loaded with nutrients and health benefits.
- Vanilla Extract – Vanilla extract will add a sweet flavor to your energy balls. As always, pure vanilla extract is best.
- Sea Salt – If you don’t have sea salt on hand, table salt can be used, but reduce it a bit as it will have a more salty flavor than the more subtle sea salt.
Directions
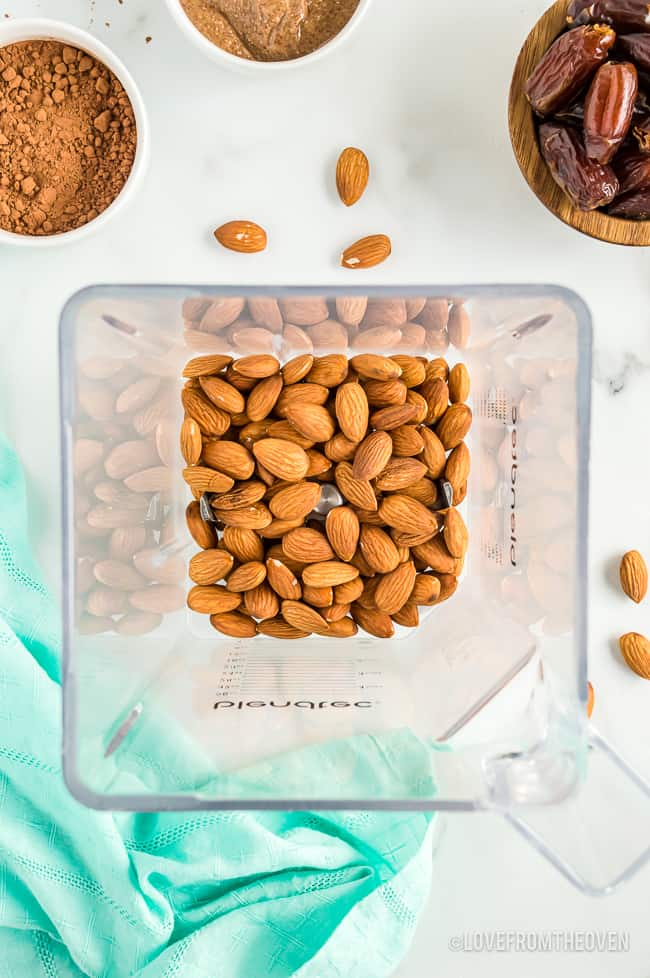
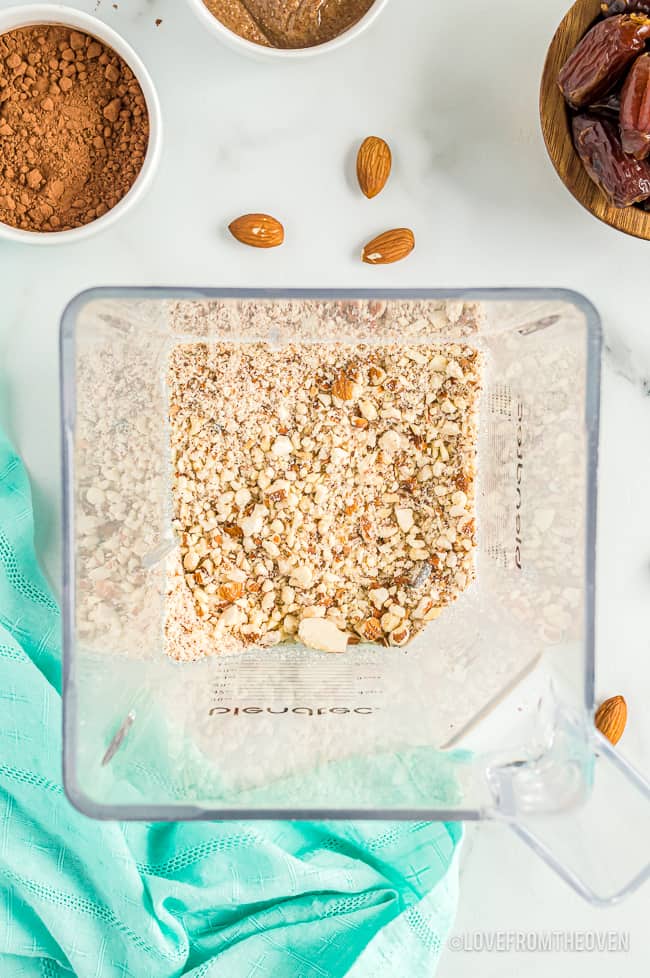
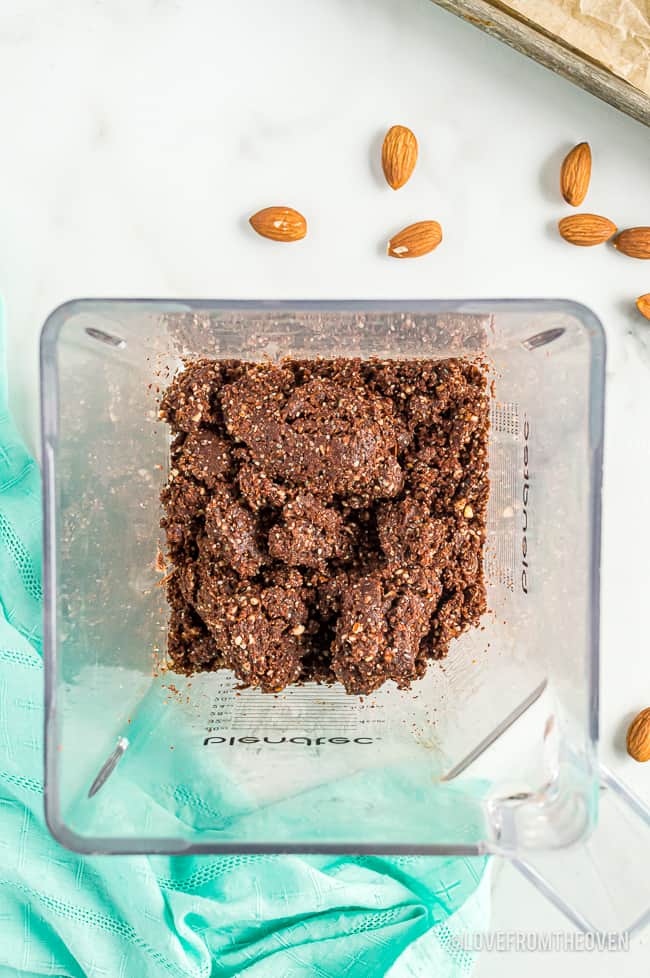
To begin, place almonds in a food processor or high speed blender. You will want to blend until the almonds are coarse.
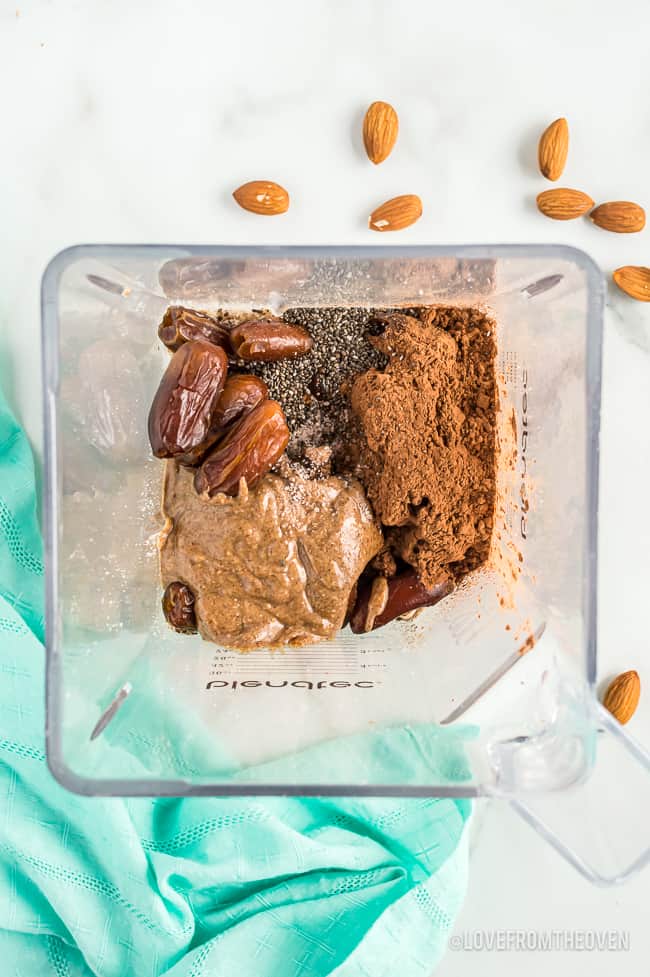
Next add the rest of your ingredients and blend until it has has a somewhat doughy texture. It will be crumbly, but also sticky enough to form into a ball. Once done blending, scrape the sides and under the blades if necessary.
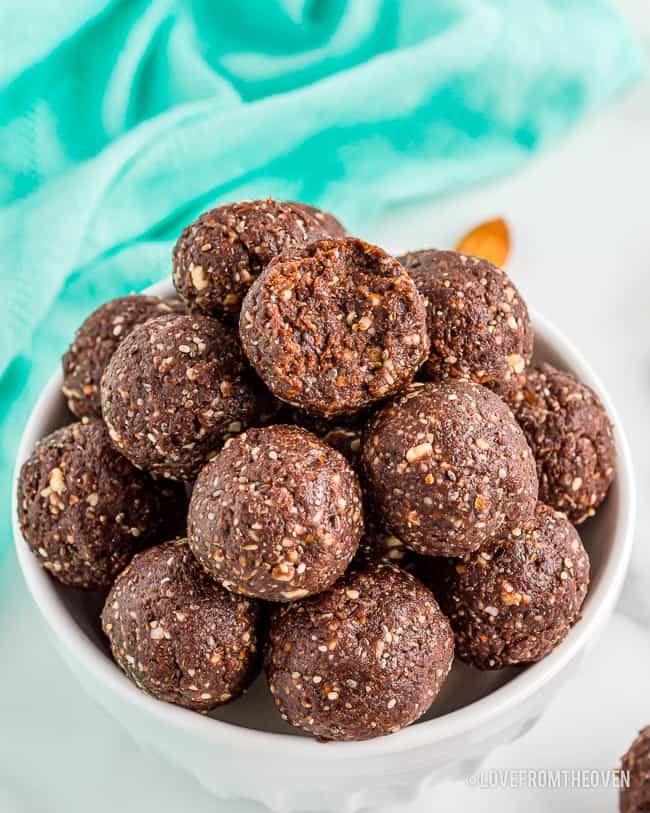
Remove dough from the blender and shape dough into medium sized balls. I like to see a medium-sized cookie scoop to form the ball shape rather than my hands. It keeps them from getting messy and is a time saver!
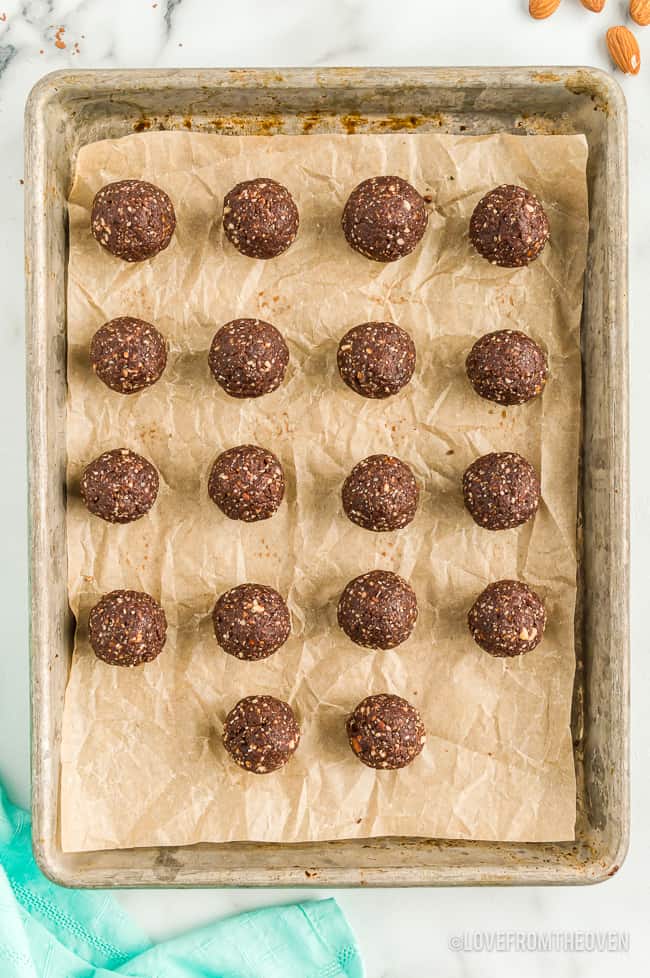
Then placed energy balls on a baking sheet, and into the fridge they go. Let them sit up at least 30 minutes prior to eating. Store in an airtight container in refrigerator or freezer and get ready for delicious and easy snacking the entire family will love.
Expert Tips
- A simple trick to avoid getting your hands messy is to use a small ice cream or cookie scoop to shape the energy balls. I used a medium cookie scoop to make a batch of 18.
- If your dough is sticky and difficult to shape, wet your hands before shaping.
- Make sure to put them in an airtight container in the refrigerator to prevent them from spoiling. They can last up to 2 weeks in the fridge if stored properly!
- To prevent energy balls from sticking together when placed in the freezer, place them on a baking sheet, then freeze for an hour on the baking sheet. This will stop them from sticking together when you move them to a freezer-safe container to store.
Frequently Asked Questions (FAQ)
Can I eat these warm? Yes! They are okay sitting at room temperature for a few hours, but make sure to store them in the refrigerator or freezer so they don’t spoil.
Are there other variations of this recipe? Absolutely! You can get really creative with these. Some options are adding shredded coconut, raisins, chocolate chips, more cocoa powder, or rolling them in powdered sugar.
What do I do if my energy balls are breaking apart? This probably means your energy balls has a dry and crumbling texture. You’ll want to mix them a bit longer before shaping them. If that doesn’t work, add a teaspoon of water until it reaches your desired consistency.
What equipment did you use?
High Speed Blender or Food Processor


No Bake Energy Bites
Equipment
- Blender or food processor
Ingredients
- 1 cup unsalted almonds
- 1 cup pitted dates
- 1/4 cup creamy almond butter
- 3 tablespoons unsweetened cocoa powder
- 2 teaspoons chia seed
- 1/2 teaspoon vanilla extract
- pinch of sea salt
Instructions
- Add almonds to a food processor or high speed blender. Pulse until coarse. Add remaining ingredients and pulse until it forms a sort of “dough,” that is crumbly but sticky enough to be formed into a ball, scraping down the sides and under the blades as necessary.
- Remove from blender and shape into balls. If the mixture is sticky and difficult to work with you can wet your hands before working with it. *I like to use a medium-size cookie scoop to scoop the dough and then form it into a ball with my hands.
- Place energy balls onto baking sheet or other container and chill in the refrigerator for at least 30 minutes.Store in an air-tight container in the refrigerator or freezer.
Notes
- A simple trick to avoid getting your hands messy is to use a small ice cream or cookie scoop to shape the energy balls. I used a medium cookie scoop to make a batch of 18.
- If your dough is sticky and difficult to shape, wet your hands before shaping.
- Make sure to put them in an airtight container in the refrigerator to prevent them from spoiling. They can last up to 2 weeks in the fridge if stored properly!
- To prevent energy balls from sticking together when placed in the freezer, place them on a baking sheet, then freeze for an hour on the baking sheet. This will stop them from sticking together when you move them to a freezer-safe container to store.
Nutrition
The nutrition facts provided are calculated using a third-party tool and are estimates only. Actual nutritional content may vary based on the ingredients and brands you use, as well as portion sizes. For accurate results, please consult a registered dietitian or nutritionist.
Want To Save This Recipe For Later?

Meet Christi, Love From The Oven
I’m Christi I love sharing easy & delicious recipes that your family & friends will love. I’m a mom, baker, cookbook author and lover of sprinkles.


Try using applesauce instead of dates
Is that 94 calories for 1 energy ball?
Is that 94 calories for 1 ?
Can u use something else in place of dates? I don’t like them at all!
I’ve only made this recipe with dates, so I can’t speak to a substitute.