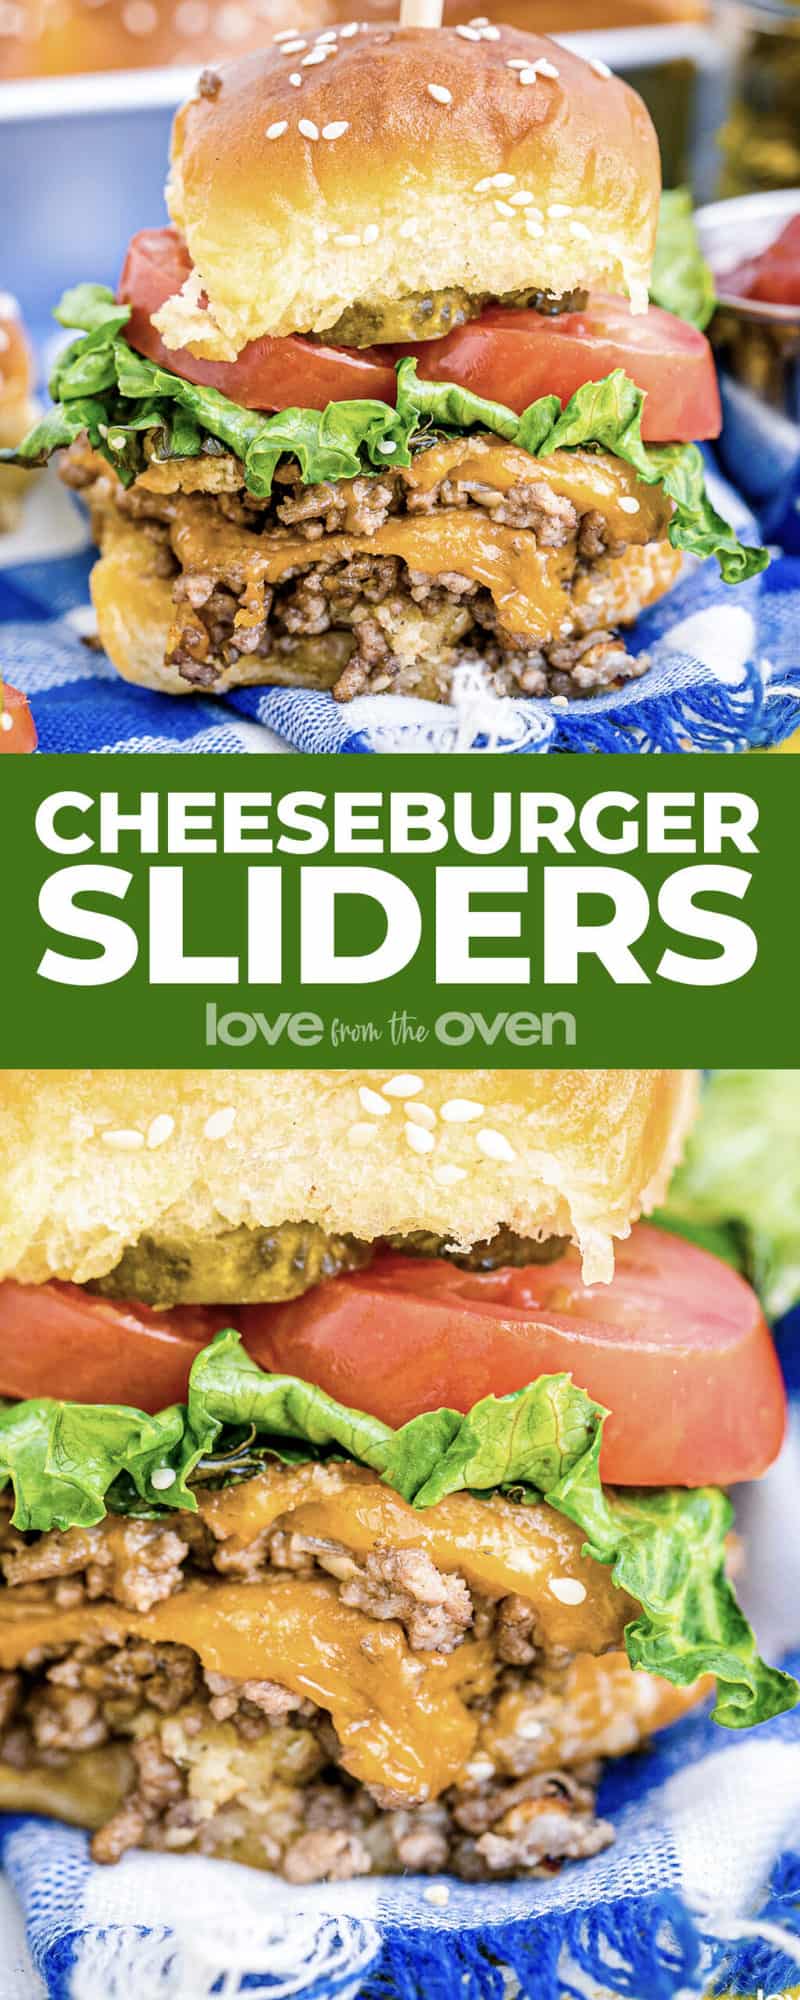
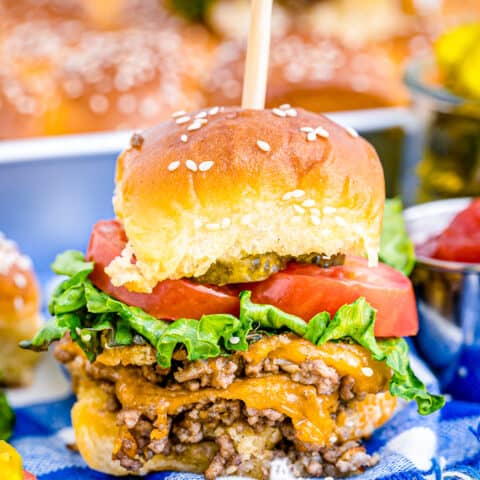
Cheeseburger Sliders are here just in time to elevate your summer pool party and satisfy your burger craving. Juicy slider patties are topped with melted cheese and pressed between soft and sweet Hawaiian rolls. This one of those easy recipes that will become a major crowd pleaser. Made in under 30 minutes, these hamburger sliders will be out of your kitchen and onto plates before you know it!

Want To Save This Recipe For Later?
Reasons You’ll Love Cheeseburger Sliders
Finger Foods – This is such a fun way to eat a classic burger, because they’re small enough to pick up and won’t make a giant mess!
Party Pleaser – This recipe makes 24 little cheeseburgers in one dish which is perfect to serve big groups at BBQs, on game day, or even for a casual family dinner!
Quick and Easy – This simple recipe has these mini cheeseburgers come together in 25 minutes, which means you and your guests will be stuffing faces with these juicy sliders in no time.
Customizable – The best part is that you can put out all kinds of toppings, and your friends and family can decorate their sliders however they want! No fighting, all the fun!

Why go through the effort of making individual cheeseburgers for all your friends and family when you can throw this easy meal in one pan and call it good? These little burgers taste just as good, and your crowd can top it off however they choose! Your BBQ game is about to earn a 5 star rating with this easy cheeseburger sliders recipe.
Ingredients and Substitutions
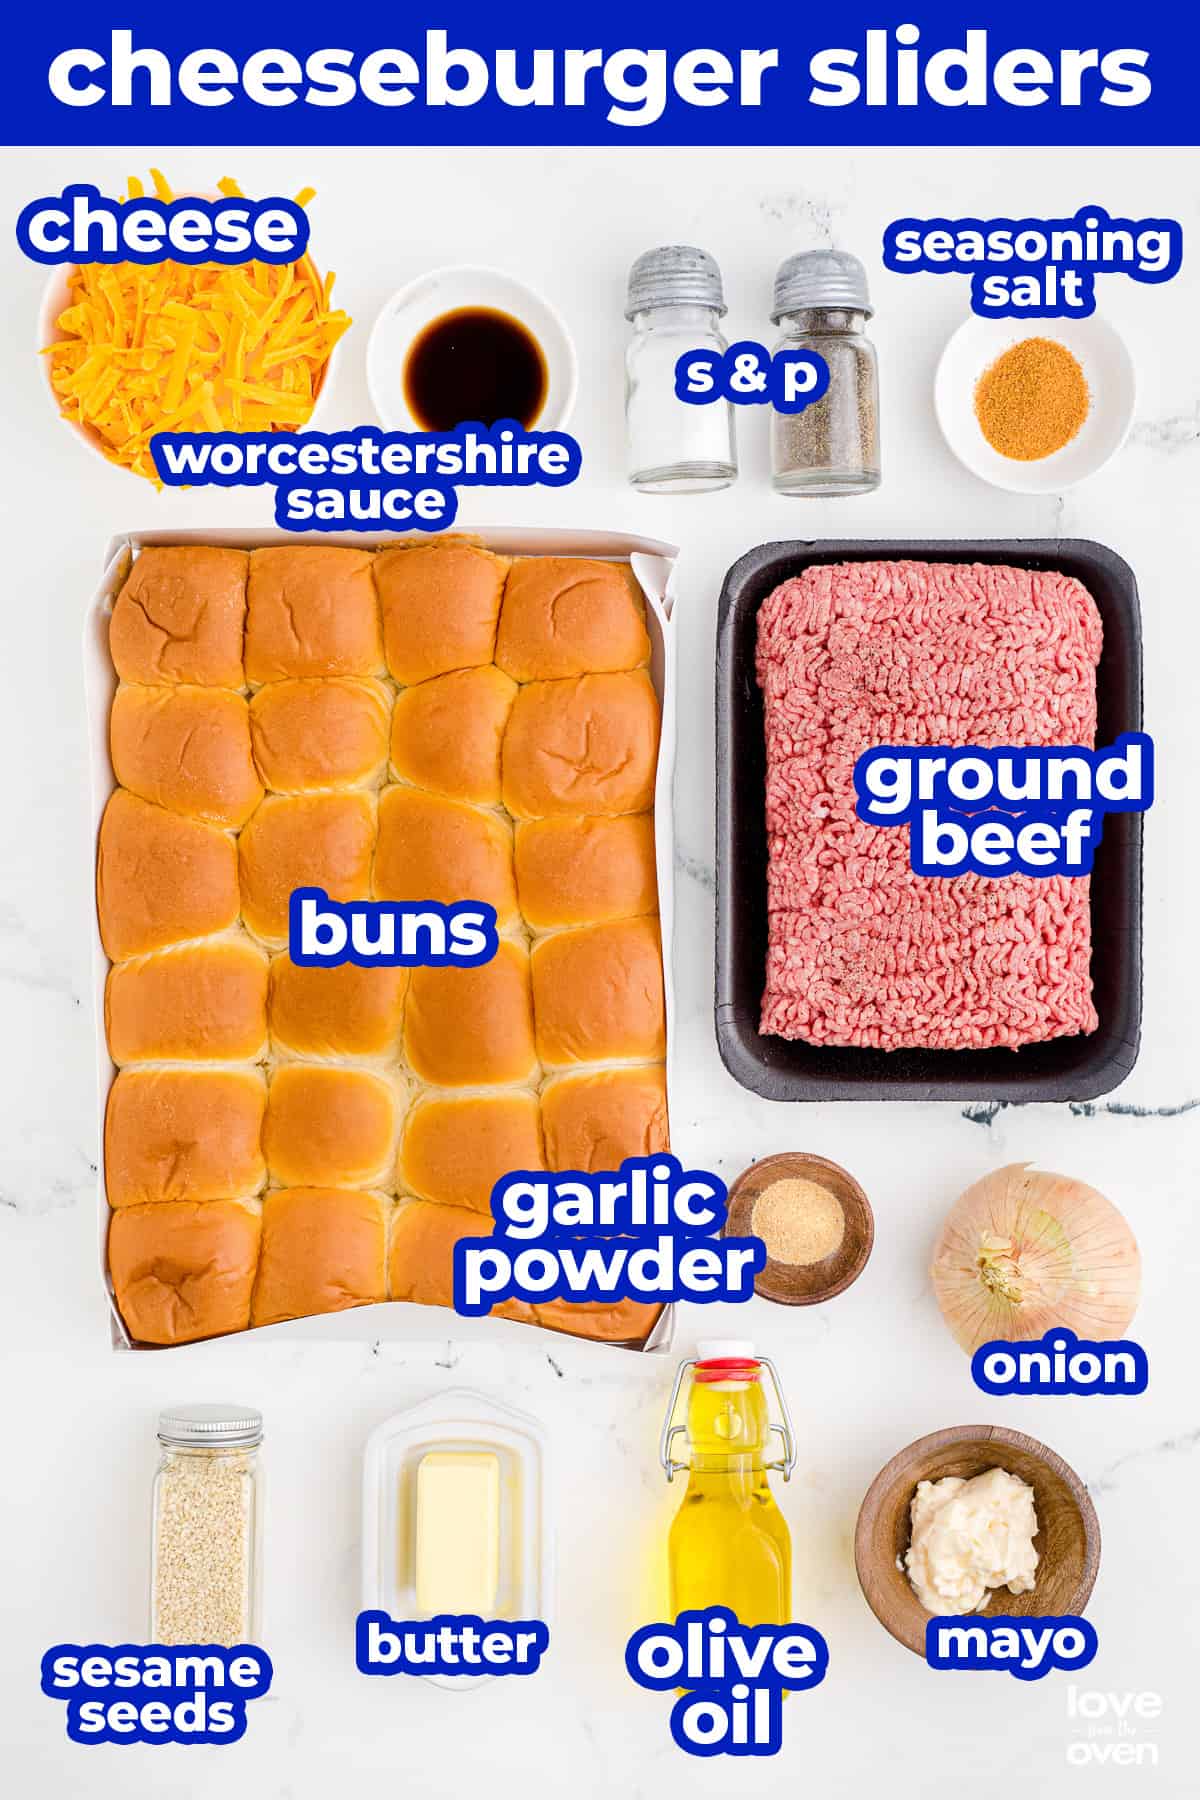
Ground Beef – Big surprise, I know! But if you’re not keen on ground beef in your burgers, ground turkey is a tasty alternative that doesn’t need any adjusting in this recipe.
Shredded Cheddar Cheese – This Cheeseburger Slider recipe wouldn’t be that without the cheese! If you’d rather use slices of cheese instead of shredded, go for it! Just make sure you have enough to cover the bottom half of the slider buns.
Seasoned Salt – The flavor of the seasoned salt in the ground beef really takes these sliders to a whole new level, but it’s okay if you don’t have any! Try using ¼ teaspoon of onion powder, paprika, chili powder, and salt instead.
Garlic Powder – If you’d rather use fresh minced garlic, you can substitute the garlic powder for 4 teaspoons or four cloves of minced garlic.
Worcestershire Sauce – This gives the ground beef a lovely BBQ flavor, any brand works great!
Slider Rolls – Let it be known that Hawaiian buns are incredible with this recipe, but you can use any sort of dinner rolls you’d like.
How To Make Cheeseburger Sliders
Begin by preheating your oven to 350 degrees. Grab a rimmed baking sheet and either place a silicone baking mat on it, or coat it with non-stick spray.
1. Next grab a large skillet and turn on the stove to medium-high heat. Add your olive oil to the skillet, then the diced onions. Allow this to fry until the onion is softened while stirring occasionally with a wooden spoon.
2. Add the lean ground beef to the softened diced onion and fry it until there is no pink meat left. Drain out the fat to the best of your ability. Next stir in the Worcestershire sauce, mayonnaise, seasoned salt, salt, black pepper, and garlic powder. Once fully combined, remove this from the heat.
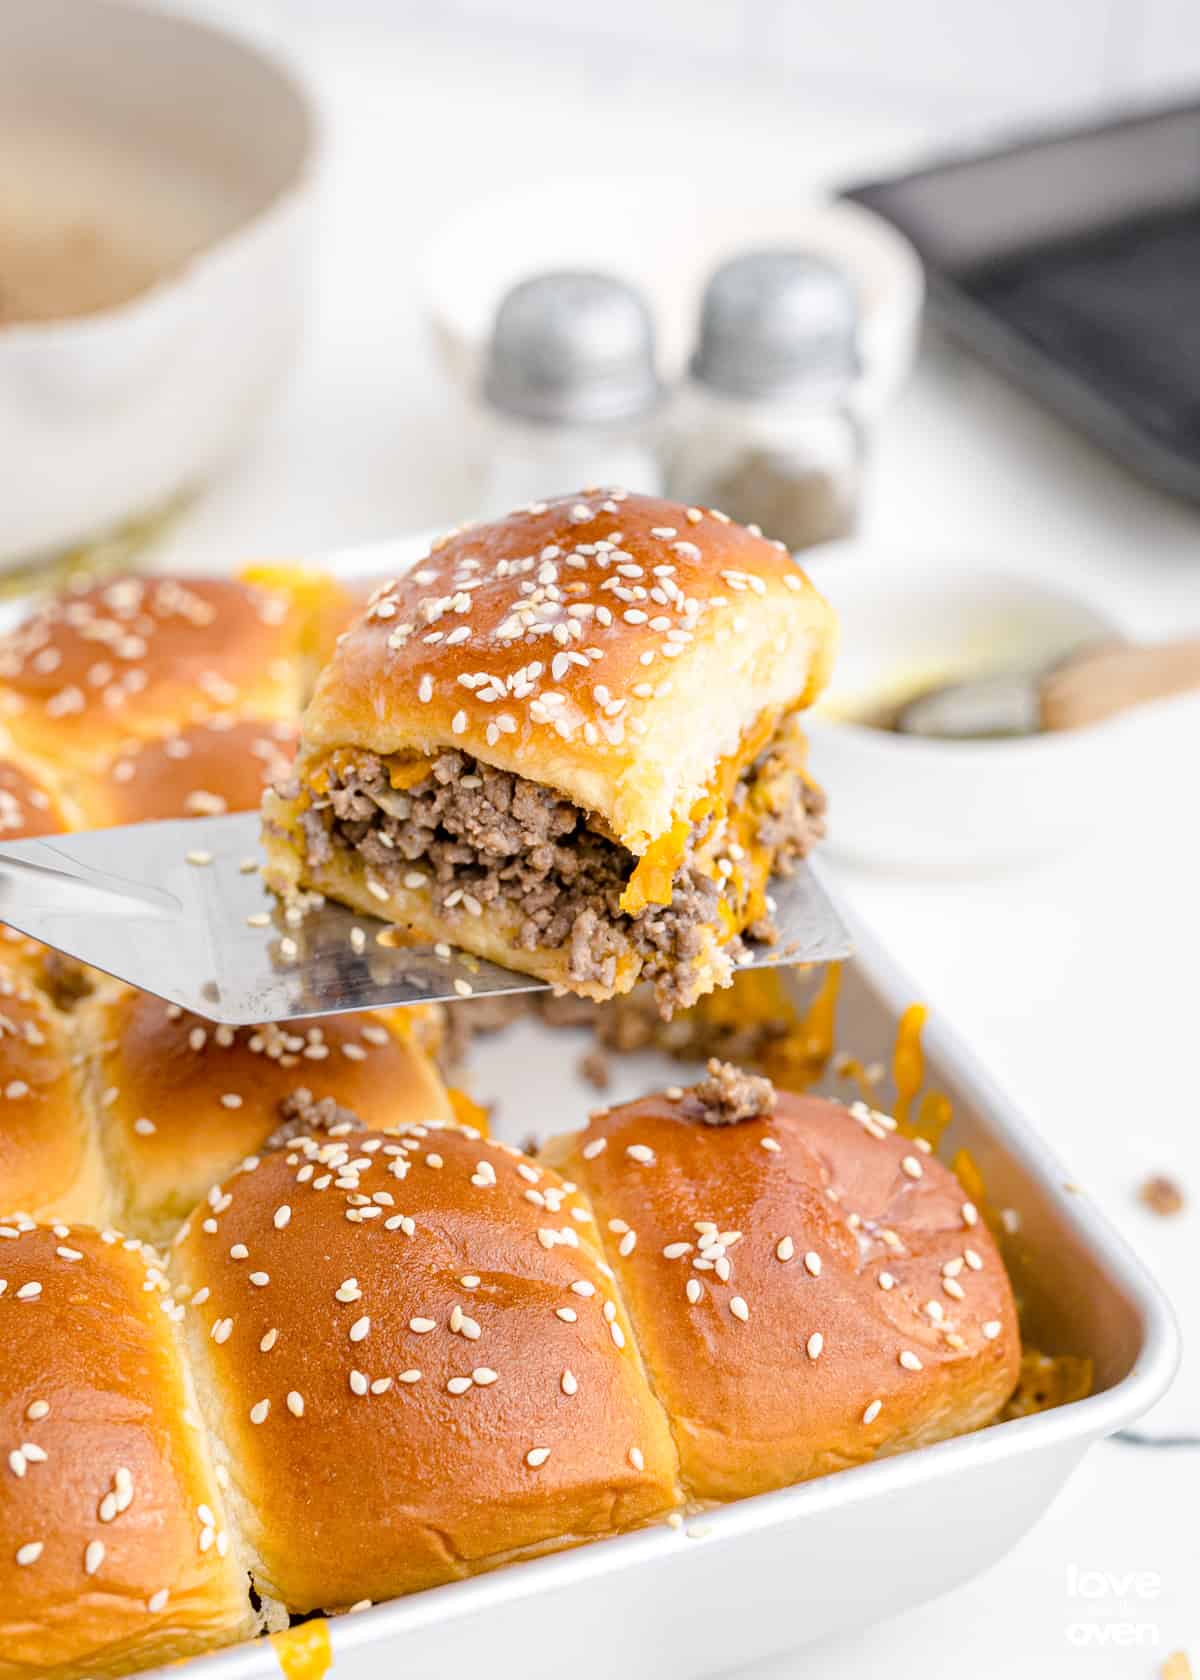
3. Next, take the entire block of Hawaiian rolls and cut them evenly in half. Place the bottom half of the rolls in the rimmed baking sheet.
4. Take the meat mixture that was set aside and evenly cover the bottom layer of slider buns with all of the cooked beef.
5. Once covered, sprinkle the 2 cups of grated cheese over the beef mixture.
6. Place the top half of the slider buns on top of the beef and cheese, and brush the tops of the rolls with the melted butter. Once coated with butter, sprinkle on the sesame seeds to your liking.
Bake these mini burgers in the baking dish for about 10-12 minutes or until the cheese is melted and the tops are golden brown.

Recipe Tips, Advice and FAQs
Storage – The hamburger sliders will store in an airtight container in the fridge for up to 3 days. They also freeze well, for up to 3 months.
Reheating – Reheat these in the microwave for 35 seconds on high or try reheating them in the air fryer for 3 minutes at 350˚
Materials – Some key materials for this recipe includes a rimmed baking sheet, a skillet and a cheese grater if you chose to use shredded cheese.
Small Batch Sliders – It’s very easy to half this recipe and make 12 sliders instead, but for a large crowd, 24 sliders is recommended!
Frequently Asked Questions
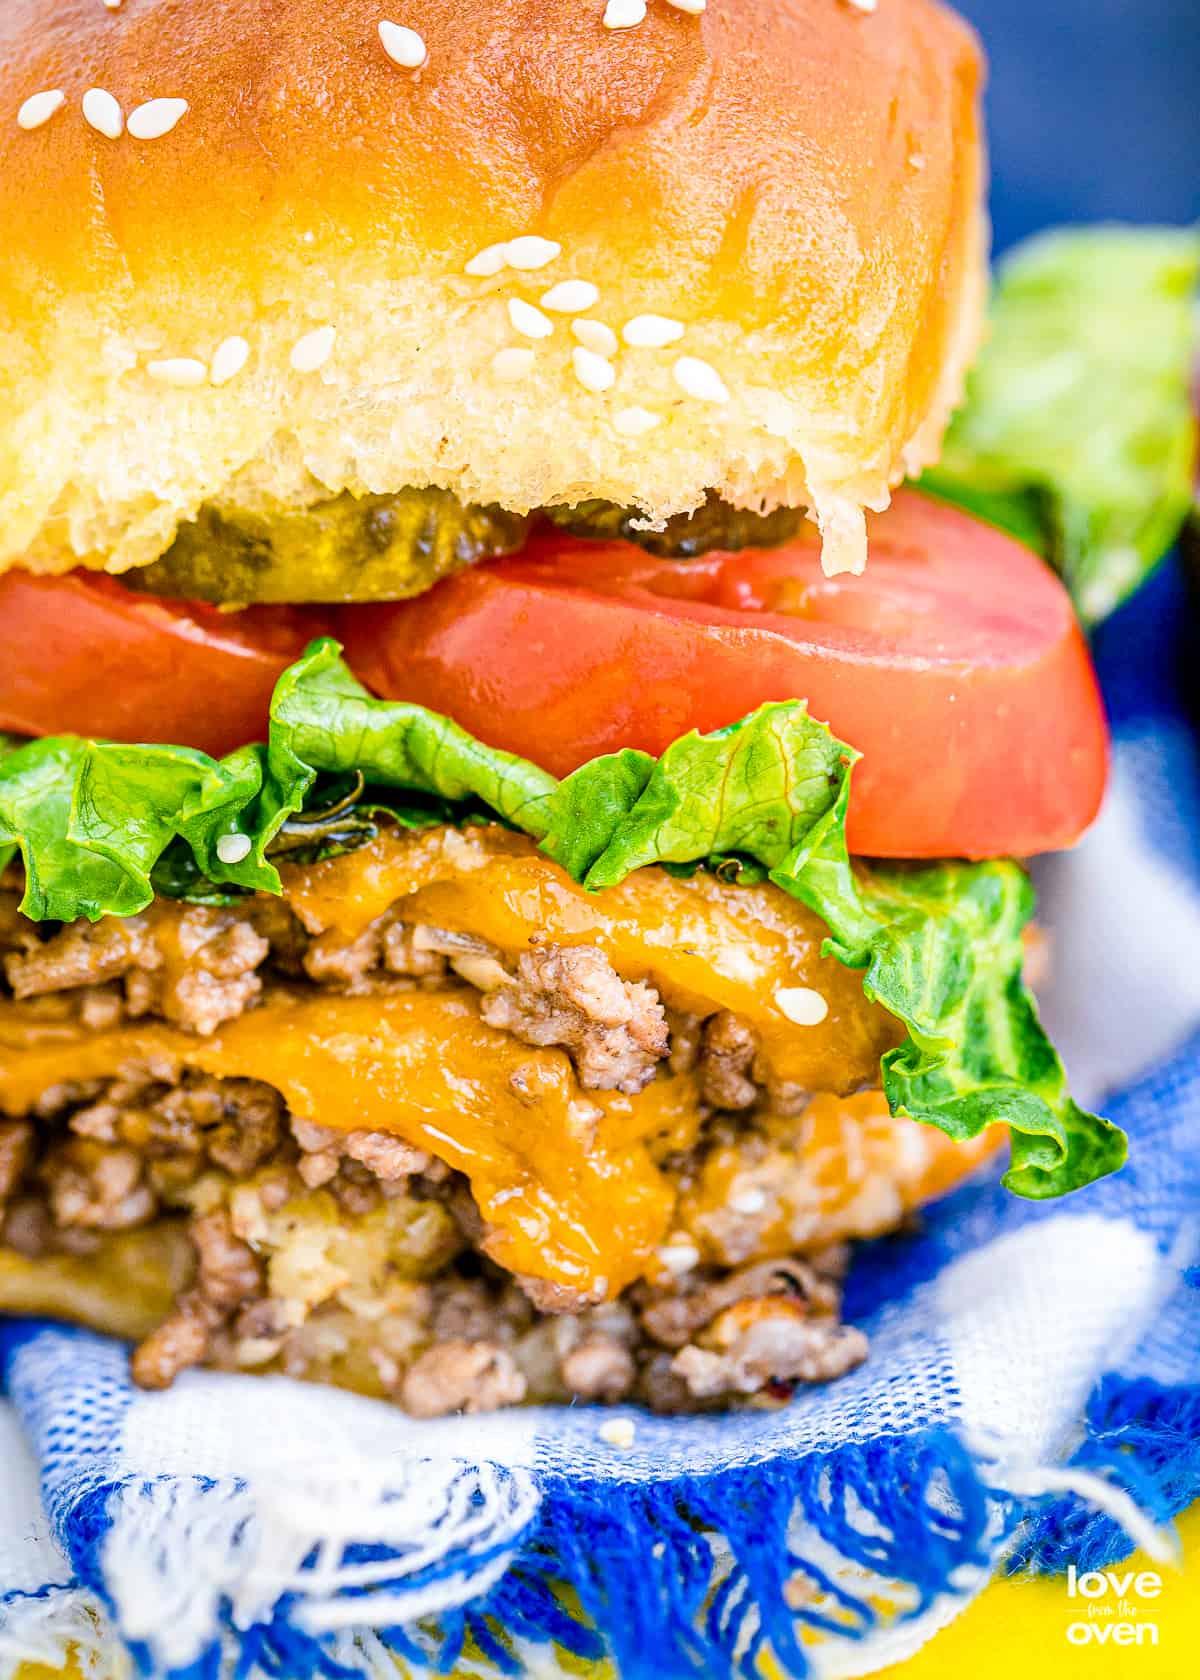
It might be easier for everyone to personalize their own slider after these are baked. The bun tops will come off and then you can put whatever condiments or toppings on that you like.
This recipe shouldn’t make the buns soggy if you work fast enough, but if you find this happening, you can try baking the bottom buns for a few minutes before adding the meat and cheese.
What to Serve With Cheeseburger Sliders
Side Dishes To Serve With Sliders
Side Dishes
Be prepared for your next summer BBQ with some side dishes and desserts to pair with these Cheeseburger Sliders.
- Old Fashioned Potato Salad
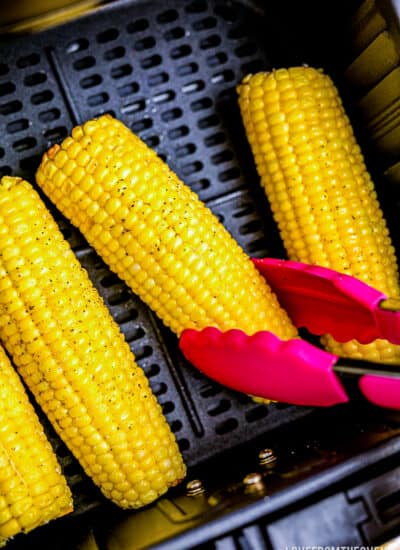
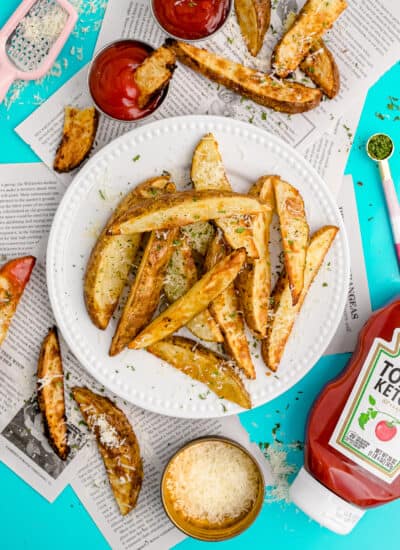
- Air Fryer Sweet Potato Fries
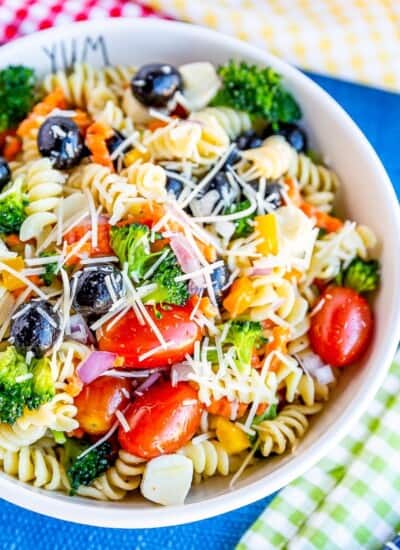
- Old Fashioned Macaroni Salad
- KFC Coleslaw Recipe
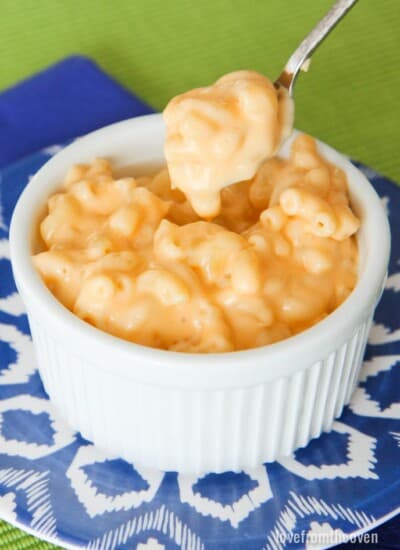
- Crockpot Macaroni and Cheese
Desserts
Cheeseburger Sliders
Ingredients
- 1 tablespoon olive oil
- 1 medium onion (diced)
- 2 pounds lean ground beef
- 1 tablespoon worcestershire sauce
- 3 tablespoons mayonnaise
- 1 teaspoon season salt
- 1 teaspoon salt
- 1/2 teaspoon pepper
- 1 1/2 teaspoon garlic powder
- 2 cups cheddar cheese (grated or shredded)
- 24 slider buns (Kings Hawaiian are a great option)
- 2 tablespoons salted butter (melted)
- 1 tablespoon sesame seeds (optional)
Instructions
- Preheat the oven to 350 degrees. Place a silicone baking mat on a rimmed baking sheet, or spray sheet with non-stick spray.
- Place the oil into a large skillet. Add the onion, and cook, stirring occasionally, until soft and translucent. Add ground beef and cook until there is no pink remaining. Drain off as much fat as possible.
- Stir in the worcestershire sauce, mayonnaise, seasoned salt, salt, pepper, and garlic powder. Mix until well combined. Remove this from the heat.
- Cut the entire block(s) of slider rolls in half, creating a top and bottom. Place the bottom halves into the baking dish. Evenly cover the bottom layer of slider buns with all of the ground beef. Sprinkle the 2 cups of grated cheese over the beef. Add the top halves of the buns.
- Brush the tops of the buns with the melted butter. Sprinkle on the sesame seeds.
- Bake for 10-12 minutes or until the cheese is melted and the tops are golden brown.
Notes
Nutrition
The nutrition facts provided are calculated using a third-party tool and are estimates only. Actual nutritional content may vary based on the ingredients and brands you use, as well as portion sizes. For accurate results, please consult a registered dietitian or nutritionist.
Want To Save This Recipe For Later?

Meet Christi, Love From The Oven
I’m Christi I love sharing easy & delicious recipes that your family & friends will love. I’m a mom, baker, cookbook author and lover of sprinkles.


My 2 boys LOVE these burgers SO much I have to double the recipe ? Juicy, crispy tasty