Air Fryer Corn On The Cob is a deliciously easy new way to enjoy a classic side dish that everyone loves. You are just minutes away from the most deliciously butter corn on the cob that you’ve ever tried!
Want To Save This Recipe For Later?
Reasons We Love This Corn On The Cob
- Quick and easy. While I love corn on the cob made on the grill, I often don’t want to go through the trouble of firing up the grill, especially if I’m not grilling up anything else. This gives you that great grilled taste without trouble.
- Juicy, crisp and tender. Using the air fryer really creates the perfect texture that we all crave when it comes to corn.
- Flexible side dish. Corn is one of those sides that goes with so many dishes. From Pork Tenderloin to Crockpot BBQ Chicken Sandwiches to Air Fryer Hot Dogs, it works with so many menus.
- Tastes like summer. There is nothing quite like an ear of sweet corn at a summer dinner. It’s truly one of life’s simple pleasures.
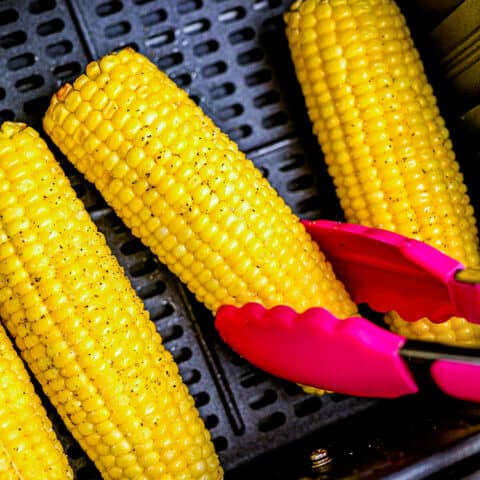
Corn On The Cob In The Air Fryer
In my apparent quest to air fry all the things, I’ve found another winner. Air Fryer Corn On The Cob. I have to hand it to those air fryers, they have an almost magical way of making food both easy to cook and incredibly delicious. So let’s take advantage of sweet corn season and whip up some delicious ears of buttery corn on the cob!
How To Make Corn In The Air Fryer
This might just be the best way to cook corn on the cob! It’s so easy that after you make it a time or two, you most likely won’t even need to look up the recipe. Just make sure you head back to get lots of other great recipes to go along with it!
Let’s discuss how to make this corn, as well as the ingredients that are needed. Please take note that below you will find discussion, expert tips, and answers to frequently asked questions about this recipe to help you recreate it in your kitchen. If you *just* want the recipe itself, scroll down. The full printable recipe itself, with exact measurements and instructions, is found at the bottom of this page.
Start With The Best Corn
The flavor of your corn on the cob is going to be heavily influenced by the quality that you start with.
- Husks: Go for green! A bright green and tightly wrapped husk is going to give you better corn than one that is brown or dried out looking. If you see small holes, that can indicated that insects have been enjoying that ear of corn. It’s best not to pull back the husk, as it will shorten it’s shelf life and cause it to dry out.
- Silks: Examine the silk, sometimes called tassels, at the top of the ear. If it’s black or dark brown, or dried out and matted, you likely want to pass on that ear. Go for a gold or light brown, and slightly sticky is actually a good thing.
- Squeeze: Put your senses to work and give the ear a little squeeze. You are checking to make sure that you feel nice plump kernels and that you don’t feel missing kernels or soft spots.
- Storage: When you get home, it’s best to store your ears of corn in the crisper drawer, in the produce bag, still in their husks. This will help maintain freshness. That said, your corn is best consumed within a few days of purchase.
Expert Tip: Removing Husks
Removing corn from the husk can be a bit of a chore, but here’s a tip!
Leaving corn in the husk, carefully use a sharp knife to cut off the stalk end (the end with the silks) of the corn off, just above where the rows of corn start. Then place three to four ears of corn on a microwave safe plate, and heat in the microwave for 30 to 60 seconds.
Remove from the microwave and hold the corn by the uncut end, taking care as it may be hot. Shake the ear up and down until the cob slips free from the husk and silks and pops out.
The corn will not be cooked, this just heats it up a bit and helps make the job of husking easier. All that said, I will fully admit to buying ready to cook packages of fresh corn at Cotsco, already out of it’s husk, and enjoying every last bite of it!
Directions
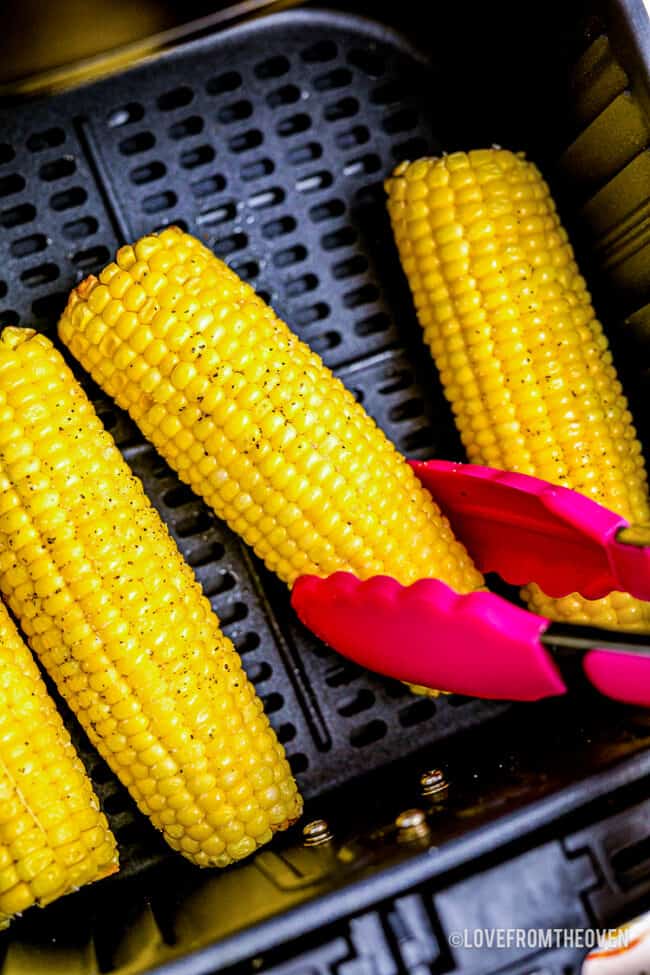
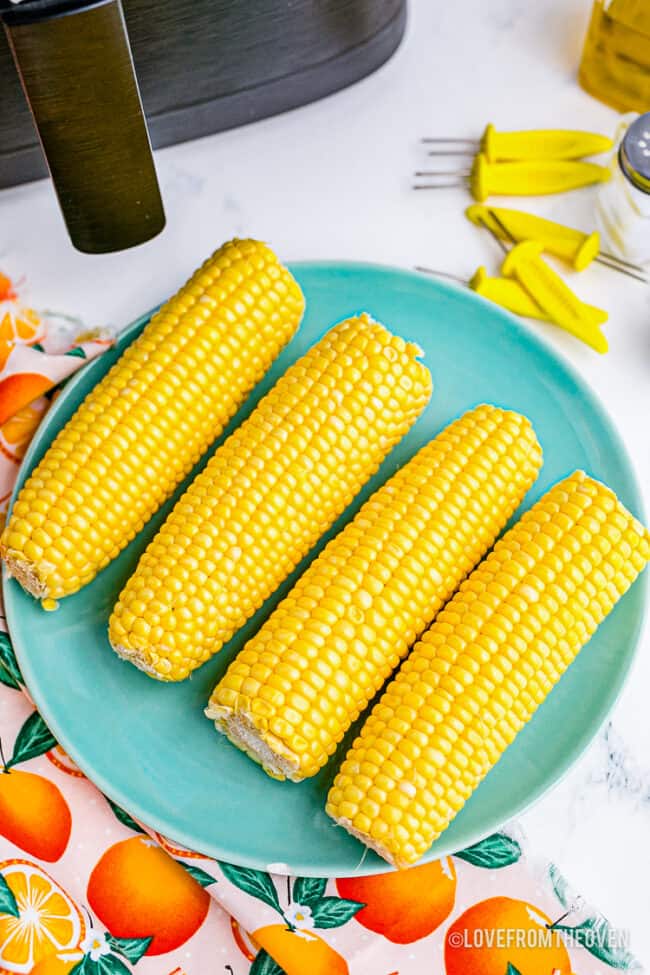
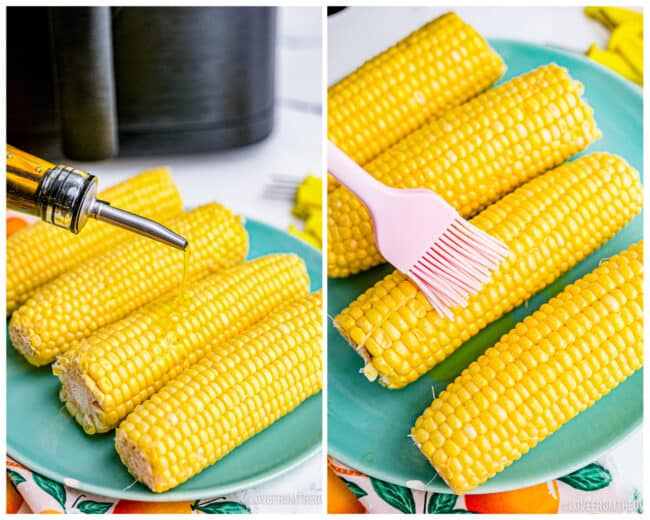
Dehusk your corn on the cob, rinse with water and pat dry. Brush on an oil of your choice, and season with salt and pepper.
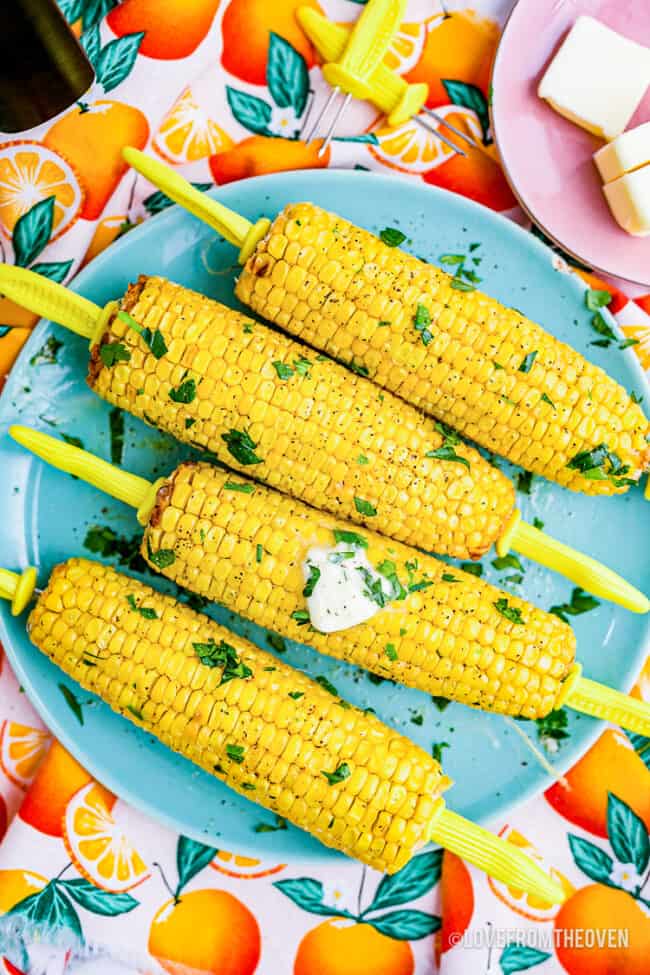
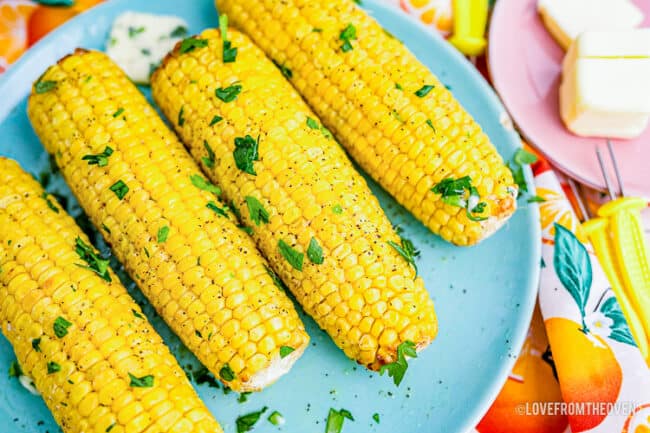
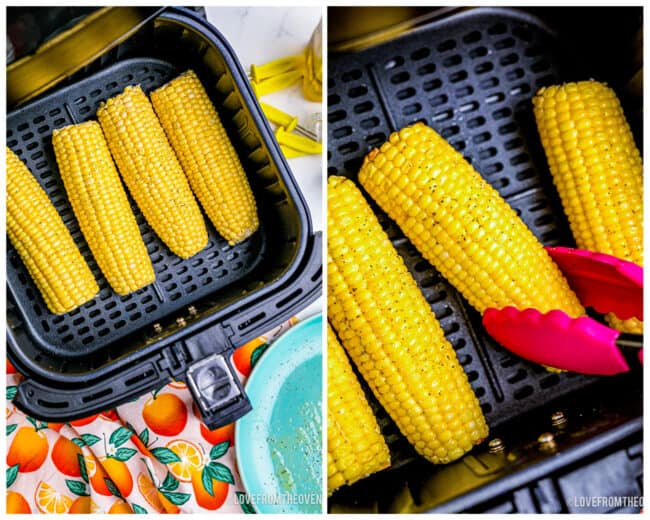
Place in air fryer, without over crowding, and cook for 15 minutes, rotating all at 8 minutes. Serve with butter!
More Great Recipes To Try
Main Dish Recipes
Here are some great recipes that you can air with this corn for a delicious meal.
- Air Fryer Pork Tenderloin
- Crockpot BBQ Chicken Sandwiches
- Air Fryer Chicken Tenders
- Air Fryer Chicken Drumsticks
- Brown Sugar Pork Tenderloin
- Air Fryer Cheeseburgers
- Air Fryer Meatloaf
- Homemade Shake and Bake
- Smash Burger Recipe
- Cheeseburger Sliders
Check out all of my Air Fryer Recipes!
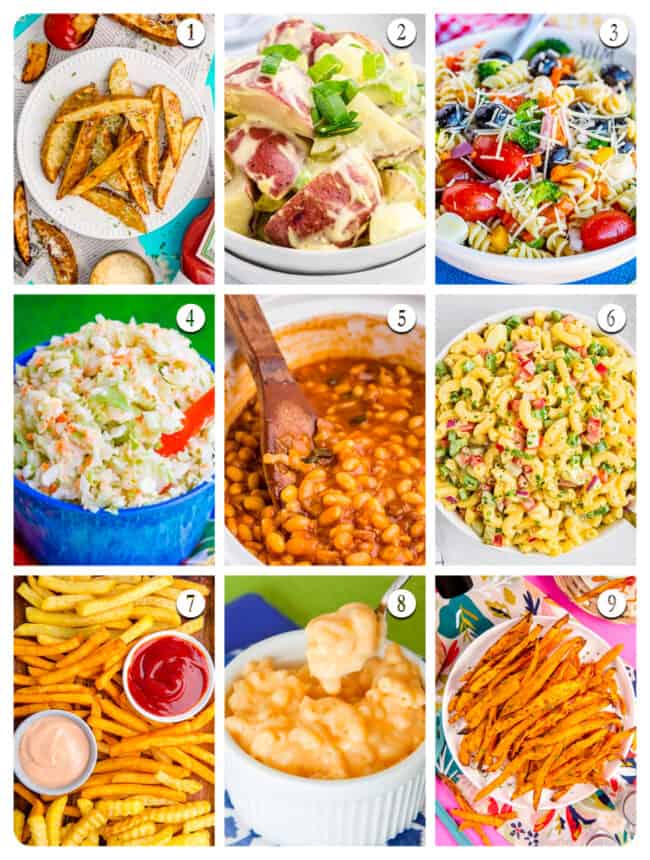
Side Dish Recipes
Complete your meal with the addition of another delicious side dish recipe.
- Air Fryer Potato Wedges
- Old Fashioned Potato Salad
- Rotini Pasta Salad
- KFC Coleslaw Recipe
- Crockpot Baked Beans
- Old Fashioned Macaroni Salad
- Air Fryer Frozen French Fries
- Easy Mac and Cheese
- Air Fryer Sweet Potato Fries
- Broccoli Casserole with Ritz Crackers
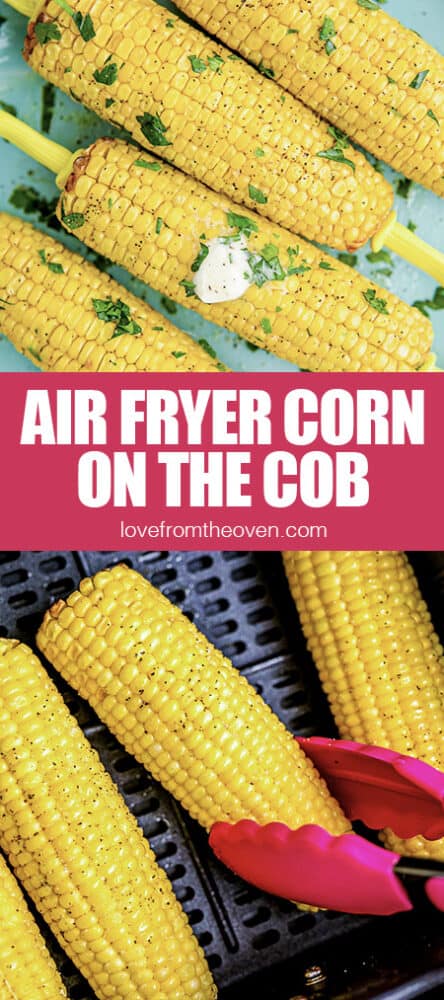
Air Fryer Corn On The Cob
Equipment
- Air Fryer
Ingredients
- 4 ears of fresh corn
- oil (olive oil works great)
- salt and pepper
Instructions
- Remove husks from the corn on the cob, rinse with water and pat dry. Brush on oil and season with salt and pepper.
- Preheat air fryer to 370 degrees for 2-3 minutes. Cook for 15 minutes, rotating all at 8 minutes. Serve with butter!
Notes
Nutrition
The nutrition facts provided are calculated using a third-party tool and are estimates only. Actual nutritional content may vary based on the ingredients and brands you use, as well as portion sizes. For accurate results, please consult a registered dietitian or nutritionist.
Want To Save This Recipe For Later?

Meet Christi, Love From The Oven
I’m Christi I love sharing easy & delicious recipes that your family & friends will love. I’m a mom, baker, cookbook author and lover of sprinkles.


Your recipe says cut off stalk end but have added next the end with silks. I knew what you meant but others may not.
Thanks for this recipe, its super yummy! As a single mom for 7 I’m often cooking snacks and this makes it easier. I like corn with recipes but I’m vegetarian so I was wondering if you could make more vegetarian recipes please.