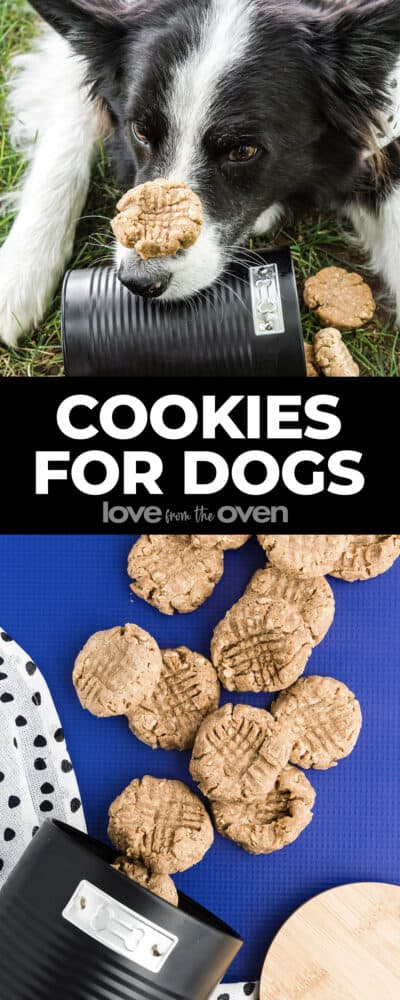
Treat your four legged friends with this easy Dog Cookie Recipe! Cookies for canines? You bet! Just like my dog cake, pupcakes dog cupcakes, dog donuts and homemade dog treats, this pup approved peanut butter dog cookie recipe was created specifically for dogs. Your furry family member will love when you whip up a batch of this dog cookie recipe just for them!
Reasons to Make This Dog Cookie Recipe
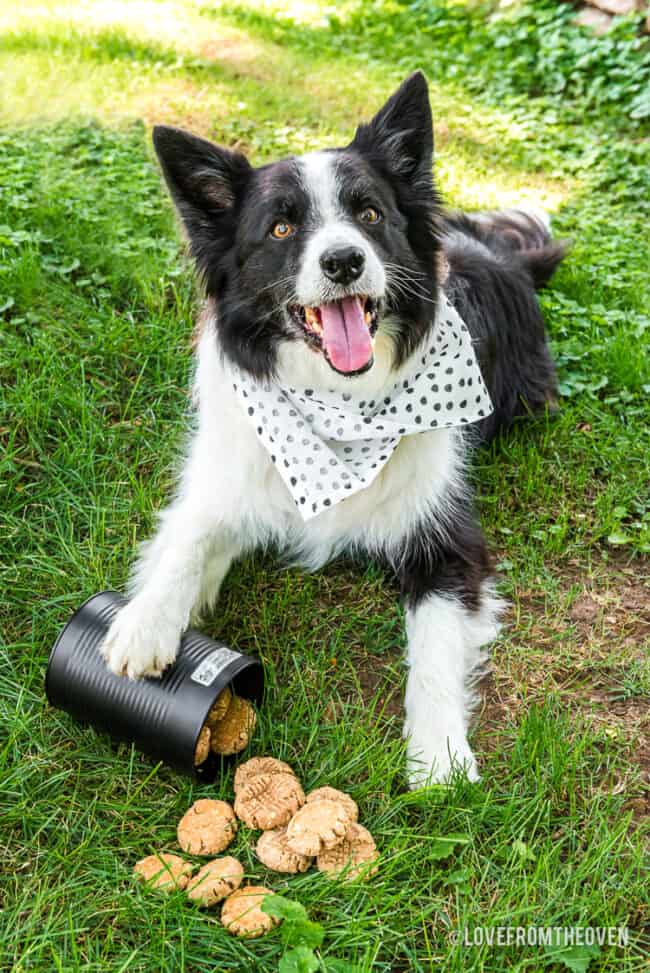
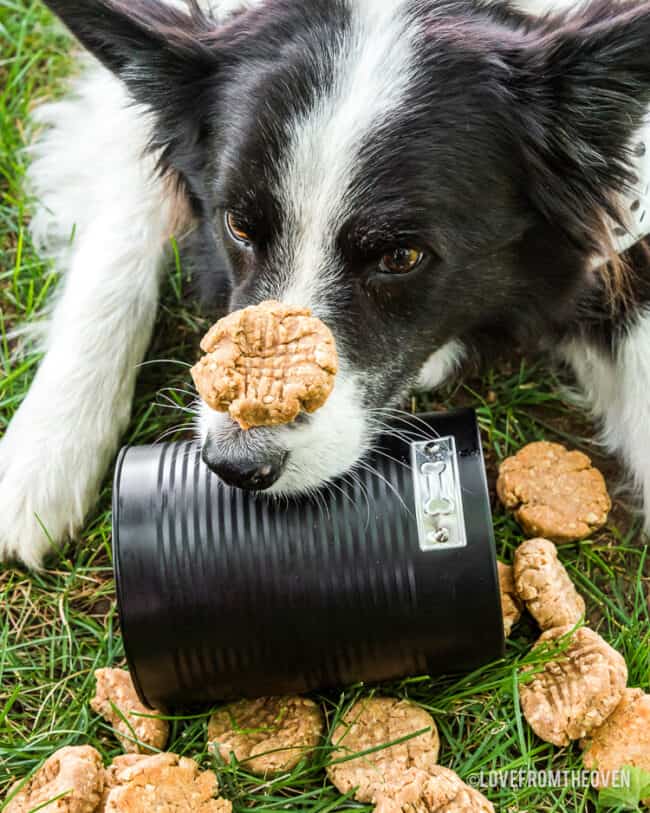
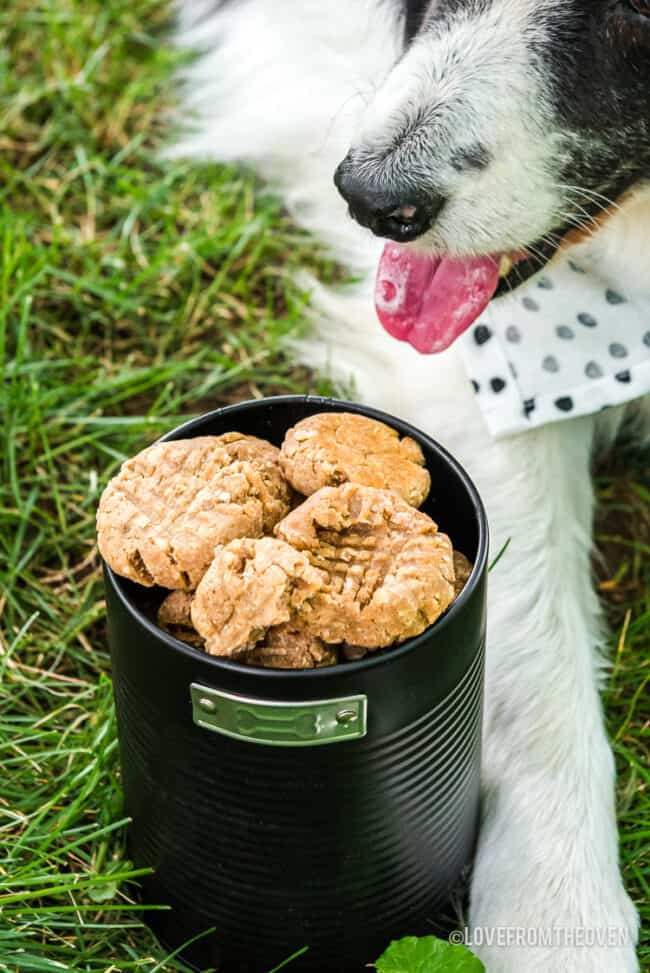
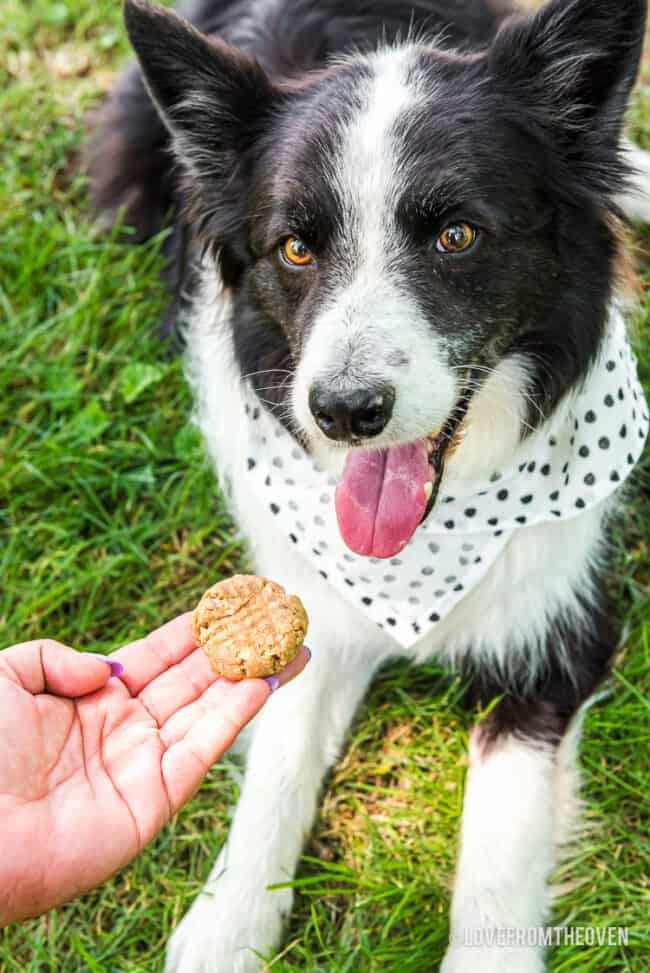
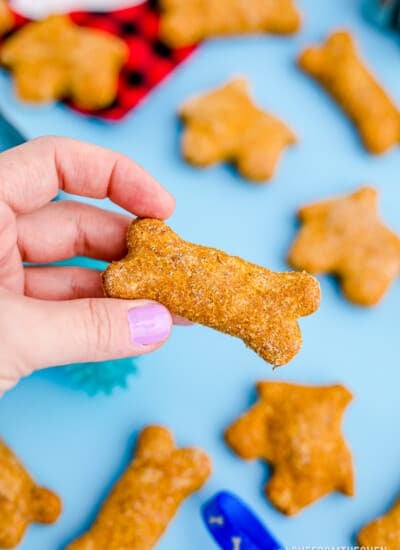
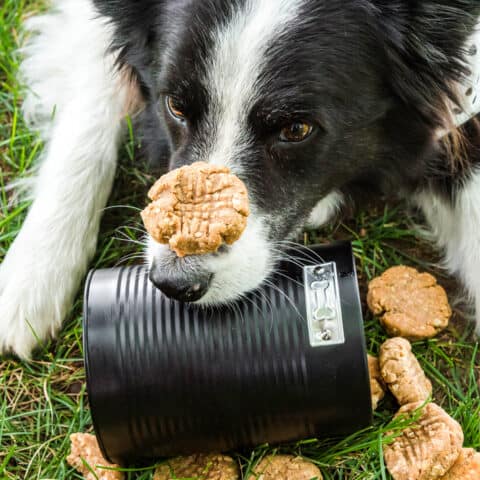
Puppy Love – Your pup will be thrilled with this yummy dog cookie recipe, just like the good boy you see in the photo above.
Quick & Easy – You can whip up a batch of these cookies in less time than it takes to run to the store.
Simple Ingredients – You only need water and four ingredients.
Peace of Mind – When you make your own snacks for your pets, you know what is in the ingredients.
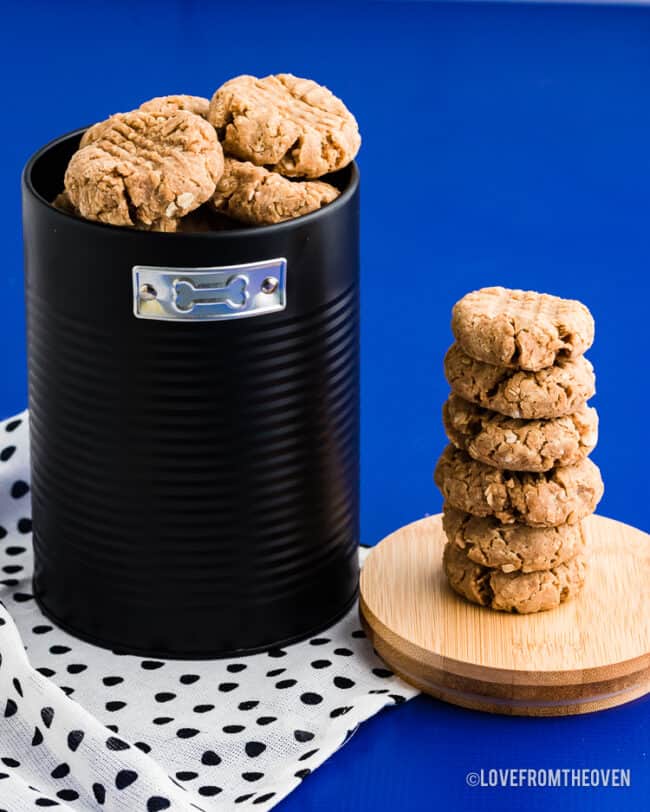
Every day awesome readers like yourself send me photos of doggies enjoying their homemade treats. It brings such a smile to my face, and makes me want to find more ways for you to bake for your pets. This dog cookie recipe might be one of my favorite recipes so far – in part because they are so adorable and look just like the peanut butter cookies we enjoy, minus a few ingredients.
Ingredients
This is a discussion about the ingredients. For the actual recipe with amounts, please see the recipe below.
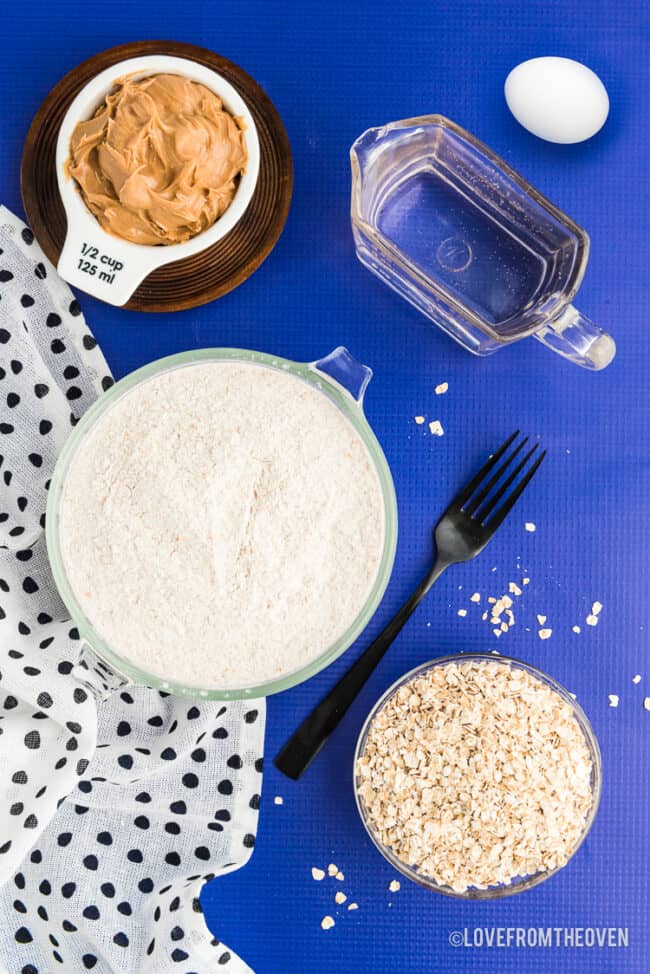
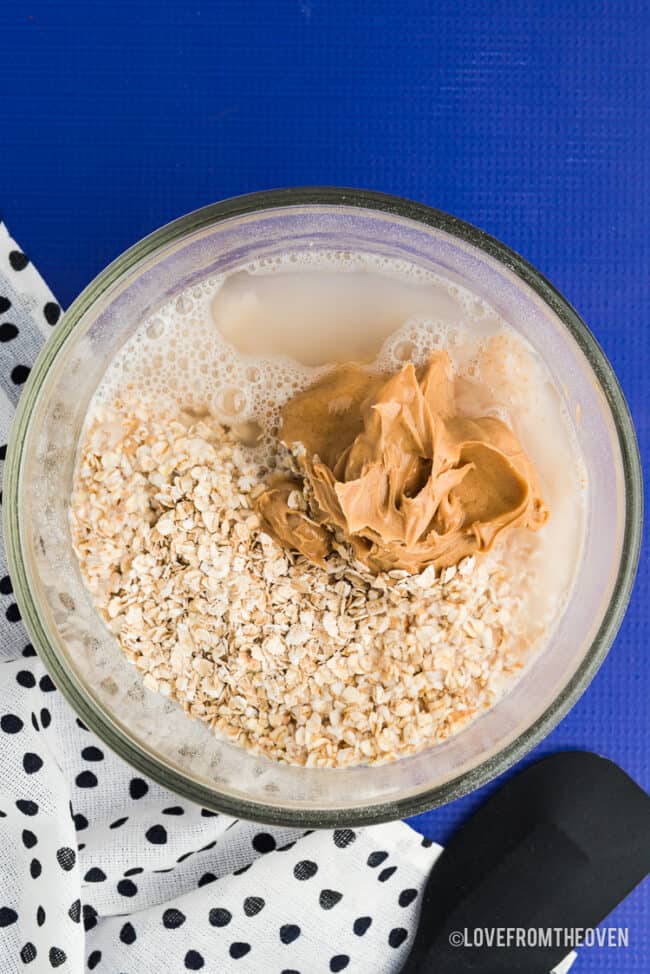
- Whole Wheat Flour – Whole wheat flour packs in much more nutritional value than all-purpose flour does. If all-purpose flour is what you have on hand, and you are fine using that with your dogs, that works just the same. I have not tested this recipe with any gluten free flours, so I cannot advise on how they would work.
- Oats – Oats are a good source of fiber, protein, iron and Vitamin B6.
- Peanut Butter – Dogs LOVE peanut butter! Make sure to use a natural variety, without any additives. You want a peanut butter made of peanuts, not peanuts and other things. And make sure to avoid any peanut butters with xylitol (also called birch sugar), an additive sometimes use in peanut butters (not super common though) that can be toxic to dogs. Always check the ingredients. And a natural, organic peanut butter is your best bet.
- Egg – Egg helps bind the dough together and adds protein.
- Hot Water – I always recommend using whatever water you use to drink. If your family drinks tap water, then tap is fine. If however you drink bottled or filtered, then go with that in this recipe
How To Make This Dog Cookie Recipe
This is a discussion about the recipe directions. For the actual recipe with amounts, please see the recipe below.
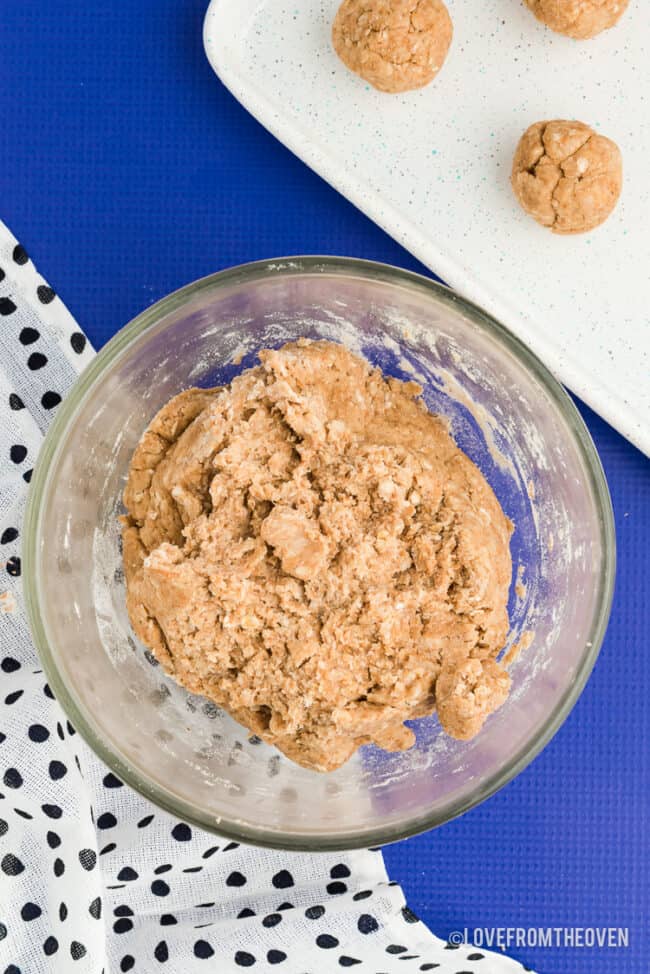
- Combine all ingredients in a mixing bowl and stir to combine. This is a thick dough, so you may find that you actually need to get in there with your hands and work it together. Don’t be alarmed that it’s thick, that’s expected.
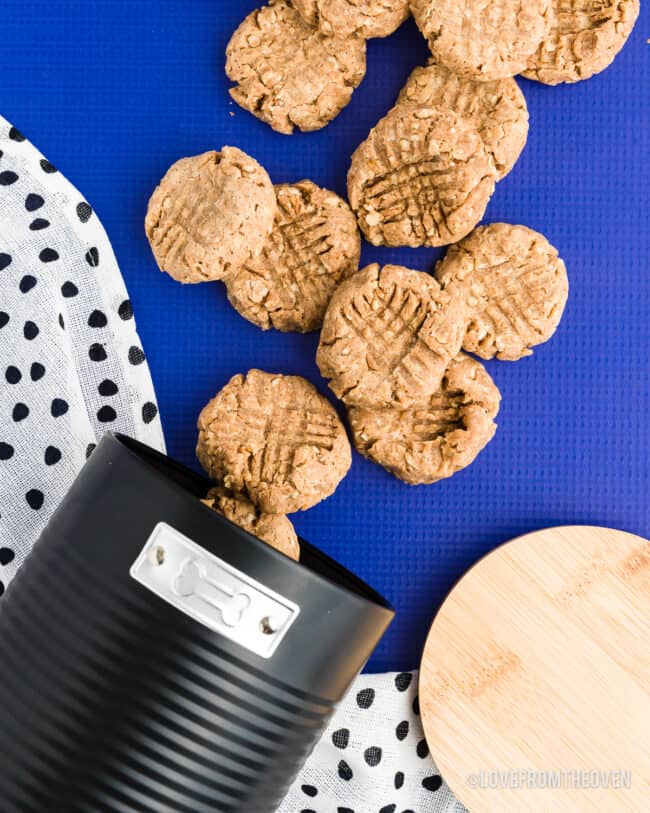
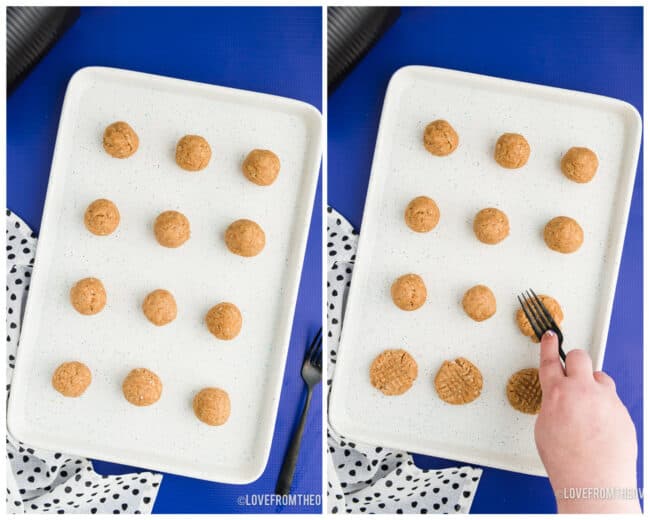
- After your dough has come together, roll into balls approximately 1″ in diameter and place onto a baking sheet. Then, using a fork, gently press into the dog peanut butter cookie dough on dough to on two sides to create an overlapping crosshatch impression. This gives the peanut butter cookies their signature look, but also helps flatten the cookie a bit for baking.
- Bake for approximately 15 minutes and allow to cool. Then share, in moderation with all the good boys and girls that have been patiently wagging their tails while you did the baking!
Tips & Advice
Storage: Make sure to completely store treats before storing. Once cool, store in an air tight container or freezer bag. I recommend storing them in the fridge for 7-10 days, or freezing for up to two months. At room temperature they are fine for 3-4 days.
Pet Safe – If you have any questions about ingredients for your dog, make sure to check with your vet. These are simply ingredients that I feel comfortable with feeding my own pup.
Human Safe – I’m often asked if people can eat these cookies, and the answer is yes you can! As you can tell from the ingredients they are all ingredients you probably already consume. They won’t be sweet, because they don’t have sugar, and won’t have quite the same rich taste that a cookie made with butter would have.

Equipment
For this recipe, you’ll just need a few mixing bowls, a baking sheet, and a fork!
FAQs
If you’re worried about the ingredients in a dog cookie, I recommend talking to your vet before baking or buying them anything new. The ingredients in this dog cookie recipe are ingredients I’ve researched and feel comfortable feeding my pet.
Recipes You’ll Love
I hope your pup enjoys this dog cookie recipe as much as ours do! If you too would like to enjoy some peanut butter cookies (the made for people kind!) check out my Best Peanut Butter Cookie Recipe, Chocolate Peanut Butter Cookies, Peanut Butter Monster Cookies and Peanut Butter Snickers Cookies.
More Dog Treat Recipes


Dog Cookie Recipe
Ingredients
- 2 cups whole wheat flour
- 1 cup oats
- 3/4 cup natural peanut butter (make sure it does not contain xylitol (also called birch sugar))
- 1 large egg
- 1 1/4 cups hot water
Instructions
- Preheat oven to 350 Degrees F.
- In a large bowl, combine all ingredients and stir to mix. The dough is thick, and you may find that you need to use your hands to actually knead the dough together.
- Roll into balls approximately 1" in diameter and place onto a baking sheet. Using the tines of a fork, gently press a crosshatch shape into each cookie. This will both give a physical imprint of lines and help flatten the cookie dough.
- Bake for 15 minutes, then remove from oven and place baking sheet on a wire cooling rack. After ten minutes, remove from baking sheet. Store tightly covered.
Notes
Nutrition
The nutrition facts provided are calculated using a third-party tool and are estimates only. Actual nutritional content may vary based on the ingredients and brands you use, as well as portion sizes. For accurate results, please consult a registered dietitian or nutritionist.

Meet Christi, Love From The Oven
I’m Christi I love sharing easy & delicious recipes that your family & friends will love. I’m a mom, baker, cookbook author and lover of sprinkles.


Sydney loves these and so do I because they are so easy to make. Sydney is a Corgi and he can be fussy sometimes but he gobbled the first cookie right down and promptly asked for another. I held off because his tummy can be sensitive so we’ll see how this goes for him; fingers crossed! Don’t know if I made them too small but I ended up with 32 instead of 18 as the recipe says but they truly are just the right size for an older Corgi like Sydney is. Thank you from me and from Syd too. 🙂
I wanted to cook something for my dog,and this was awesome!She loved it soooooooooo much. Thank you.
Made these for our beautiful 12 yr old lab/rottie Maya for her birthday today She loved the recipe !Thank you
This is awesome 👌 I’m in the process of opening a dog daycare and boarding. This was my dream I worked hard and I did it. And simple recipes like this are awesome.
Taking a batch of these to our local animal shelter tomorrow. I’m as excited as those doggies will be.
I absolutely love this recipe and so does Yahzee. I have made it three times and it is the only one he goes bonkers for!!!!!!